Test your setup (2 of 3): Configure Git and push
This is the second of three short steps. Your setup repository is now open in RStudio (from Step 6a). Here you store your GitHub token, introduce yourself to Git, and push your first change to GitHub.
The repository contains three numbered R scripts. You run them in order by opening a script and clicking the Source button in the top-right corner of the script window. This step covers 01-github-token.R and 02-git-configuration.R; the next step covers 03-workshop-packages.R.
Step 1: Store your GitHub token
In the Files tab (bottom-right pane), click on
01-github-token.Rto open it in the editor.Have the GitHub Personal Access Token (PAT) ready that you created in Step 4 of the pre-course work. If you no longer have it, create a new token on GitHub first.
Click the Source button in the top-right corner of the script window.

- When the Console asks for the token, paste it and press Enter.
If you already stored a token on this laptop earlier, the Console does not ask you to paste a new one. Instead it shows a numbered menu, as in the screenshot below. Updating the token is up to you: choose “Replace these credentials” to store a new one, or “Abort update” to keep the existing token.
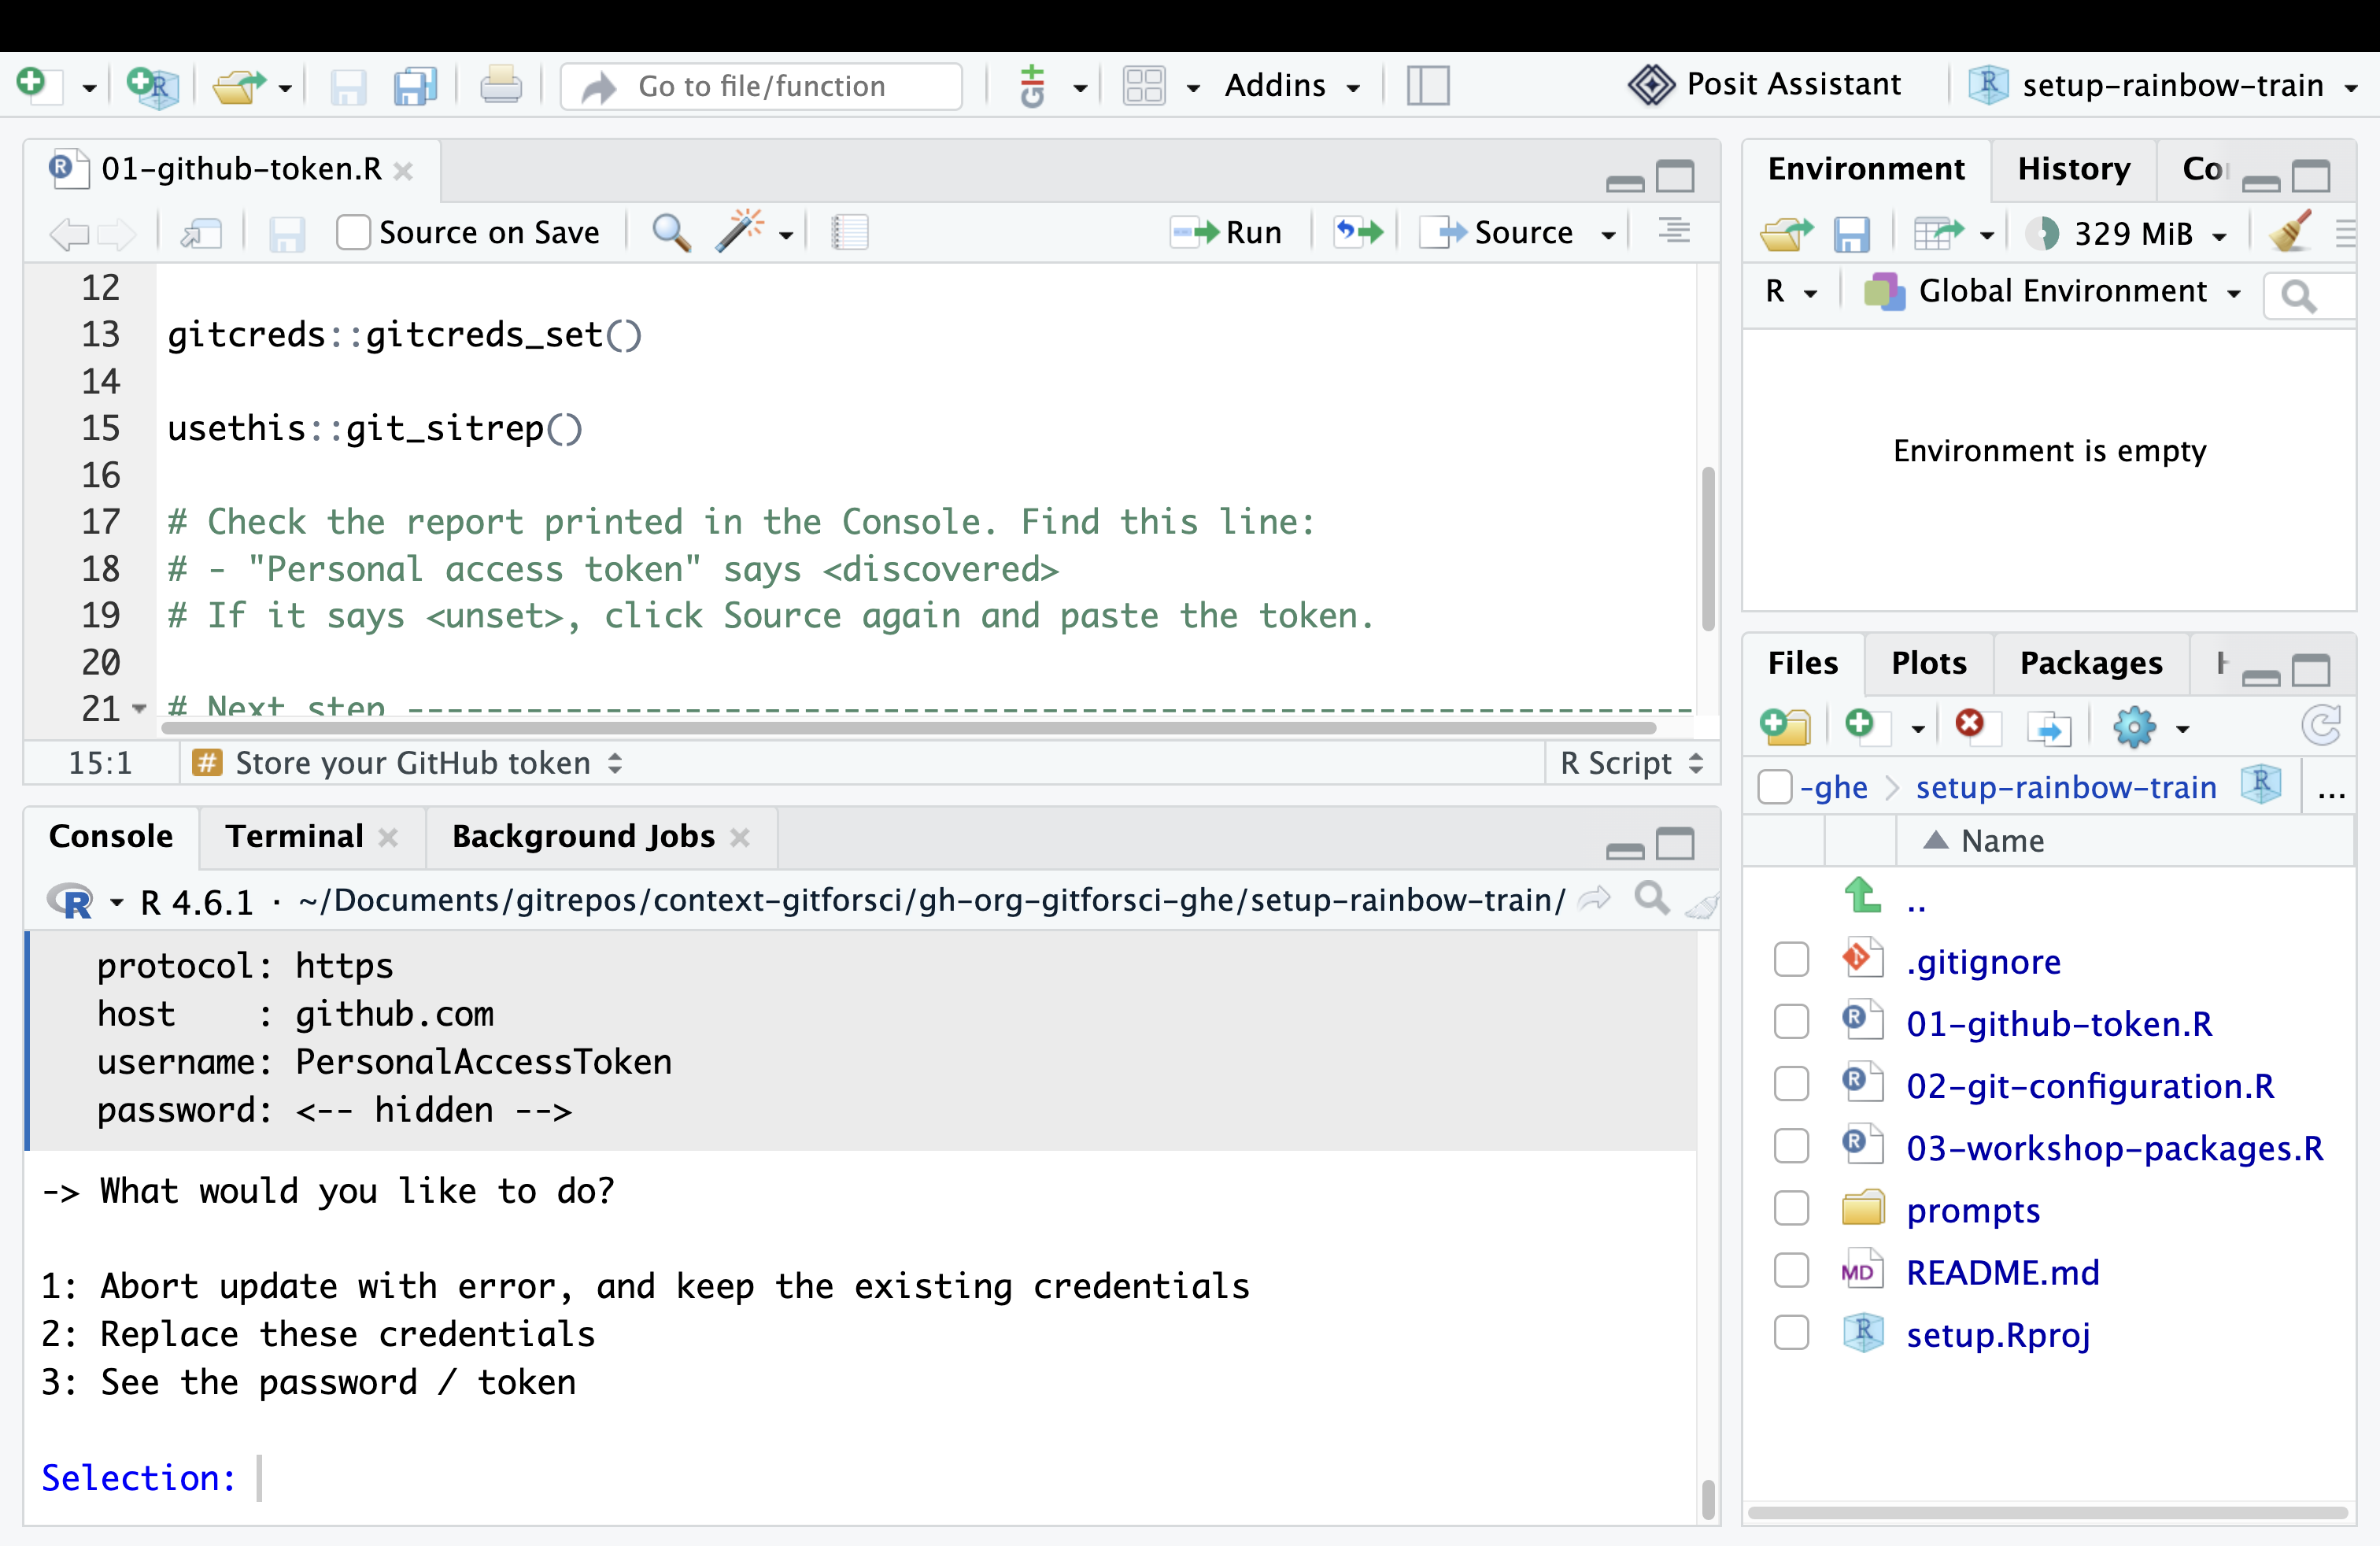
Do not type or paste your token into the script file. Paste it only into the Console when asked. This keeps your token out of the repository.
Step 2: Introduce yourself to Git
In the Files tab, click on
02-git-configuration.Rto open it in the editor.In Step 1 of the script, replace the two placeholders. Keep the quotation marks.
your_nameis your full name, for example"Ada Lovelace"(not your GitHub username)your_emailis the email address you use for your GitHub account
Click the Source button in the top-right corner of the script window. It runs the whole script.
Step 3: Commit and push your changes
- Navigate to the Git pane in the top-right window of RStudio.
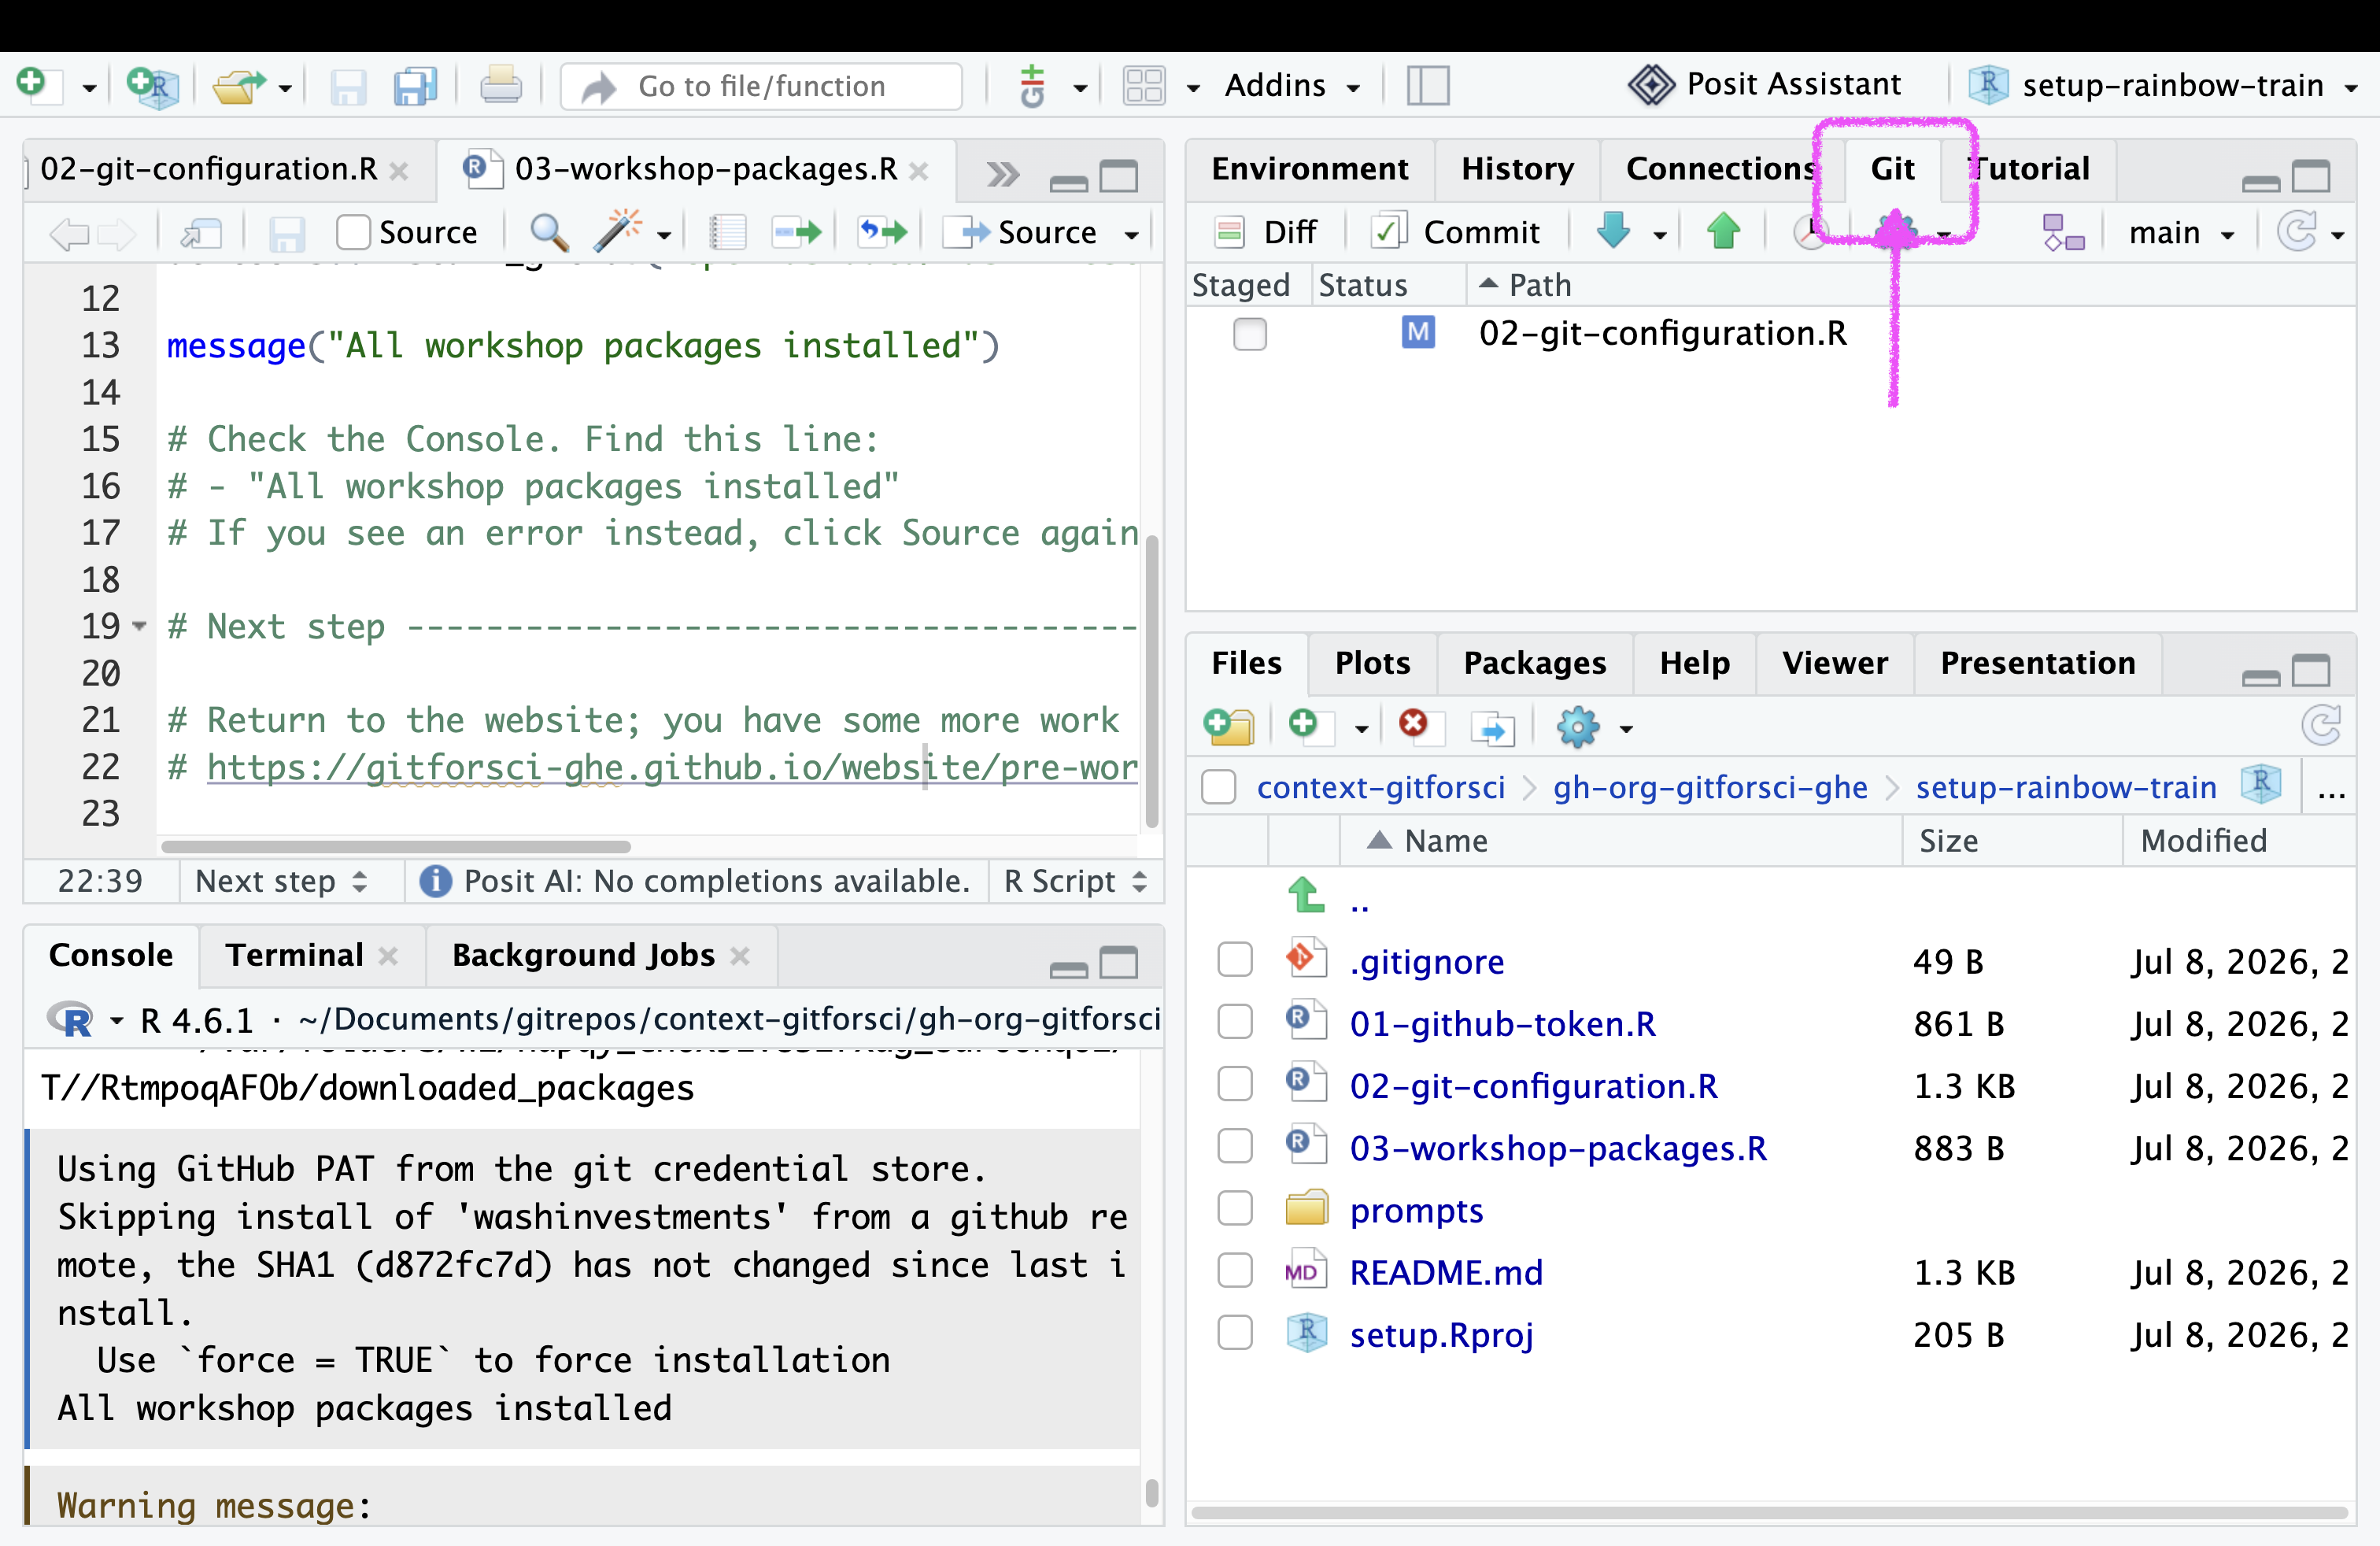
- Check the box next to
02-git-configuration.Rto stage it for commit.
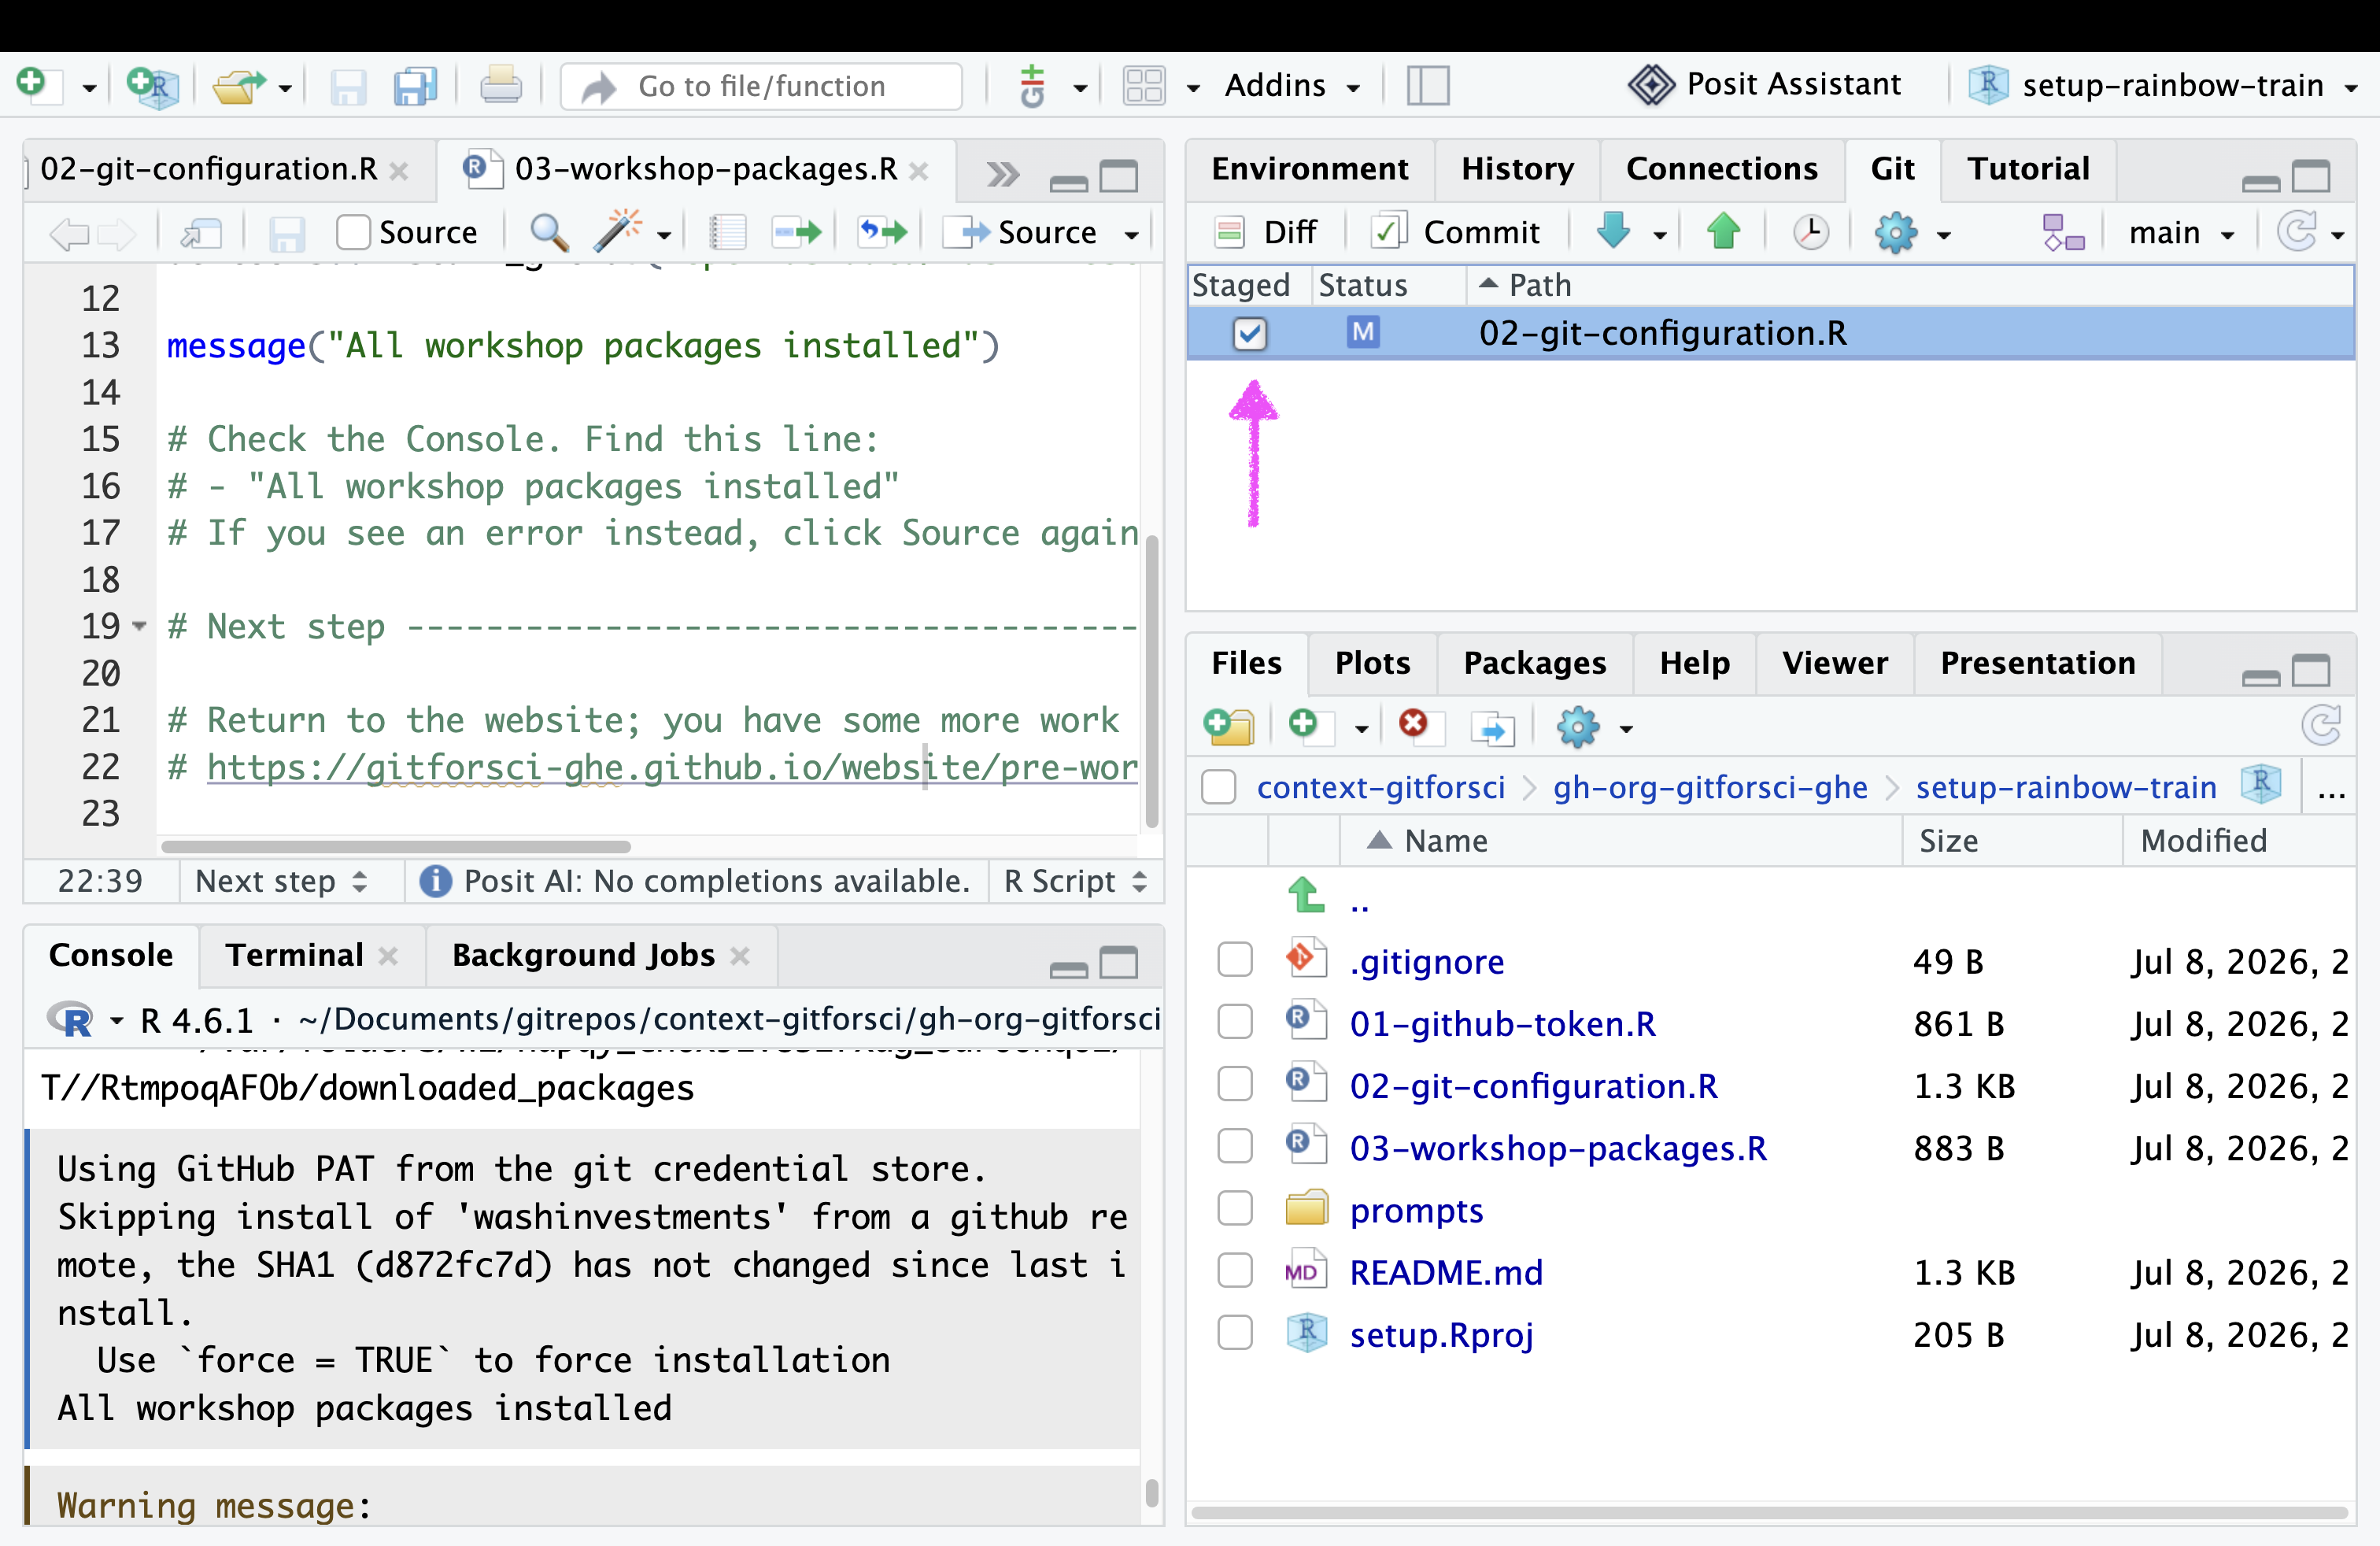
- Click on the “Commit” button.
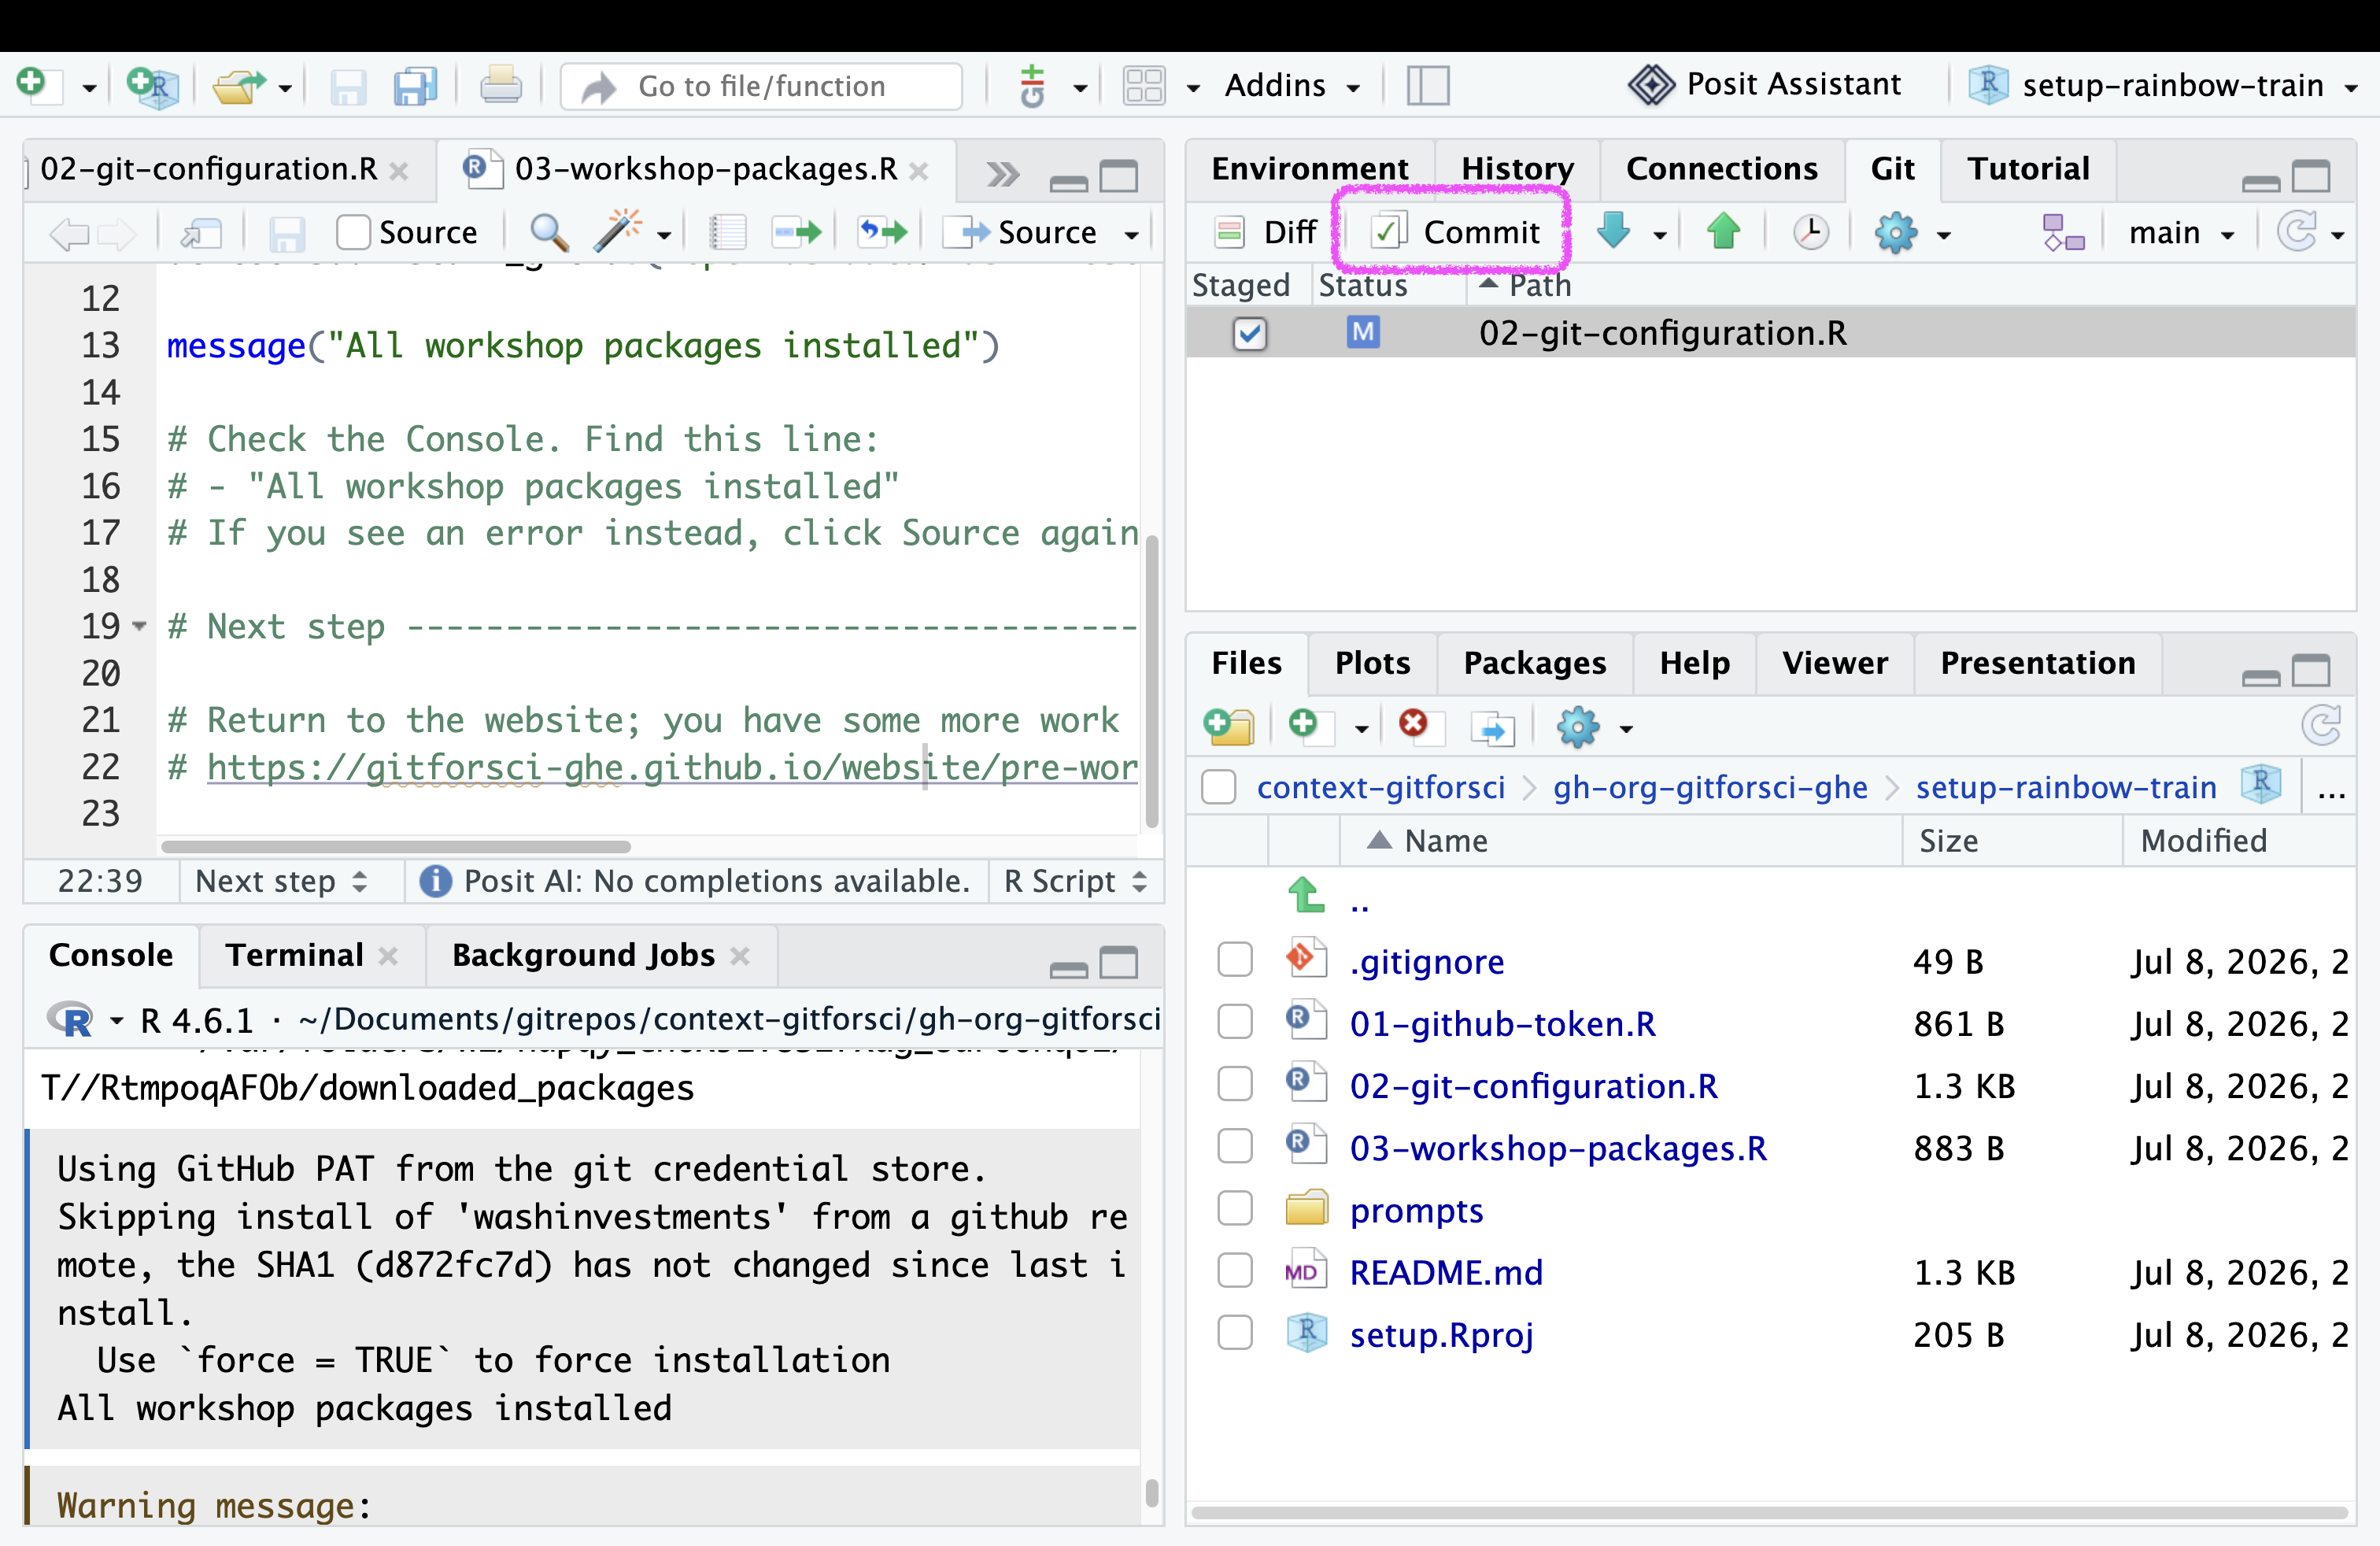
A new window will open. In the top left corner, you will see the files that you have staged for commit. In the bottom windows, you can see the changes you made in the file. The top right corner shows the “Commit message” which cannot be blank. Each Commit requires a Commit message.
- Enter a commit message in the “Commit message” field. For example: “complete git configuration”
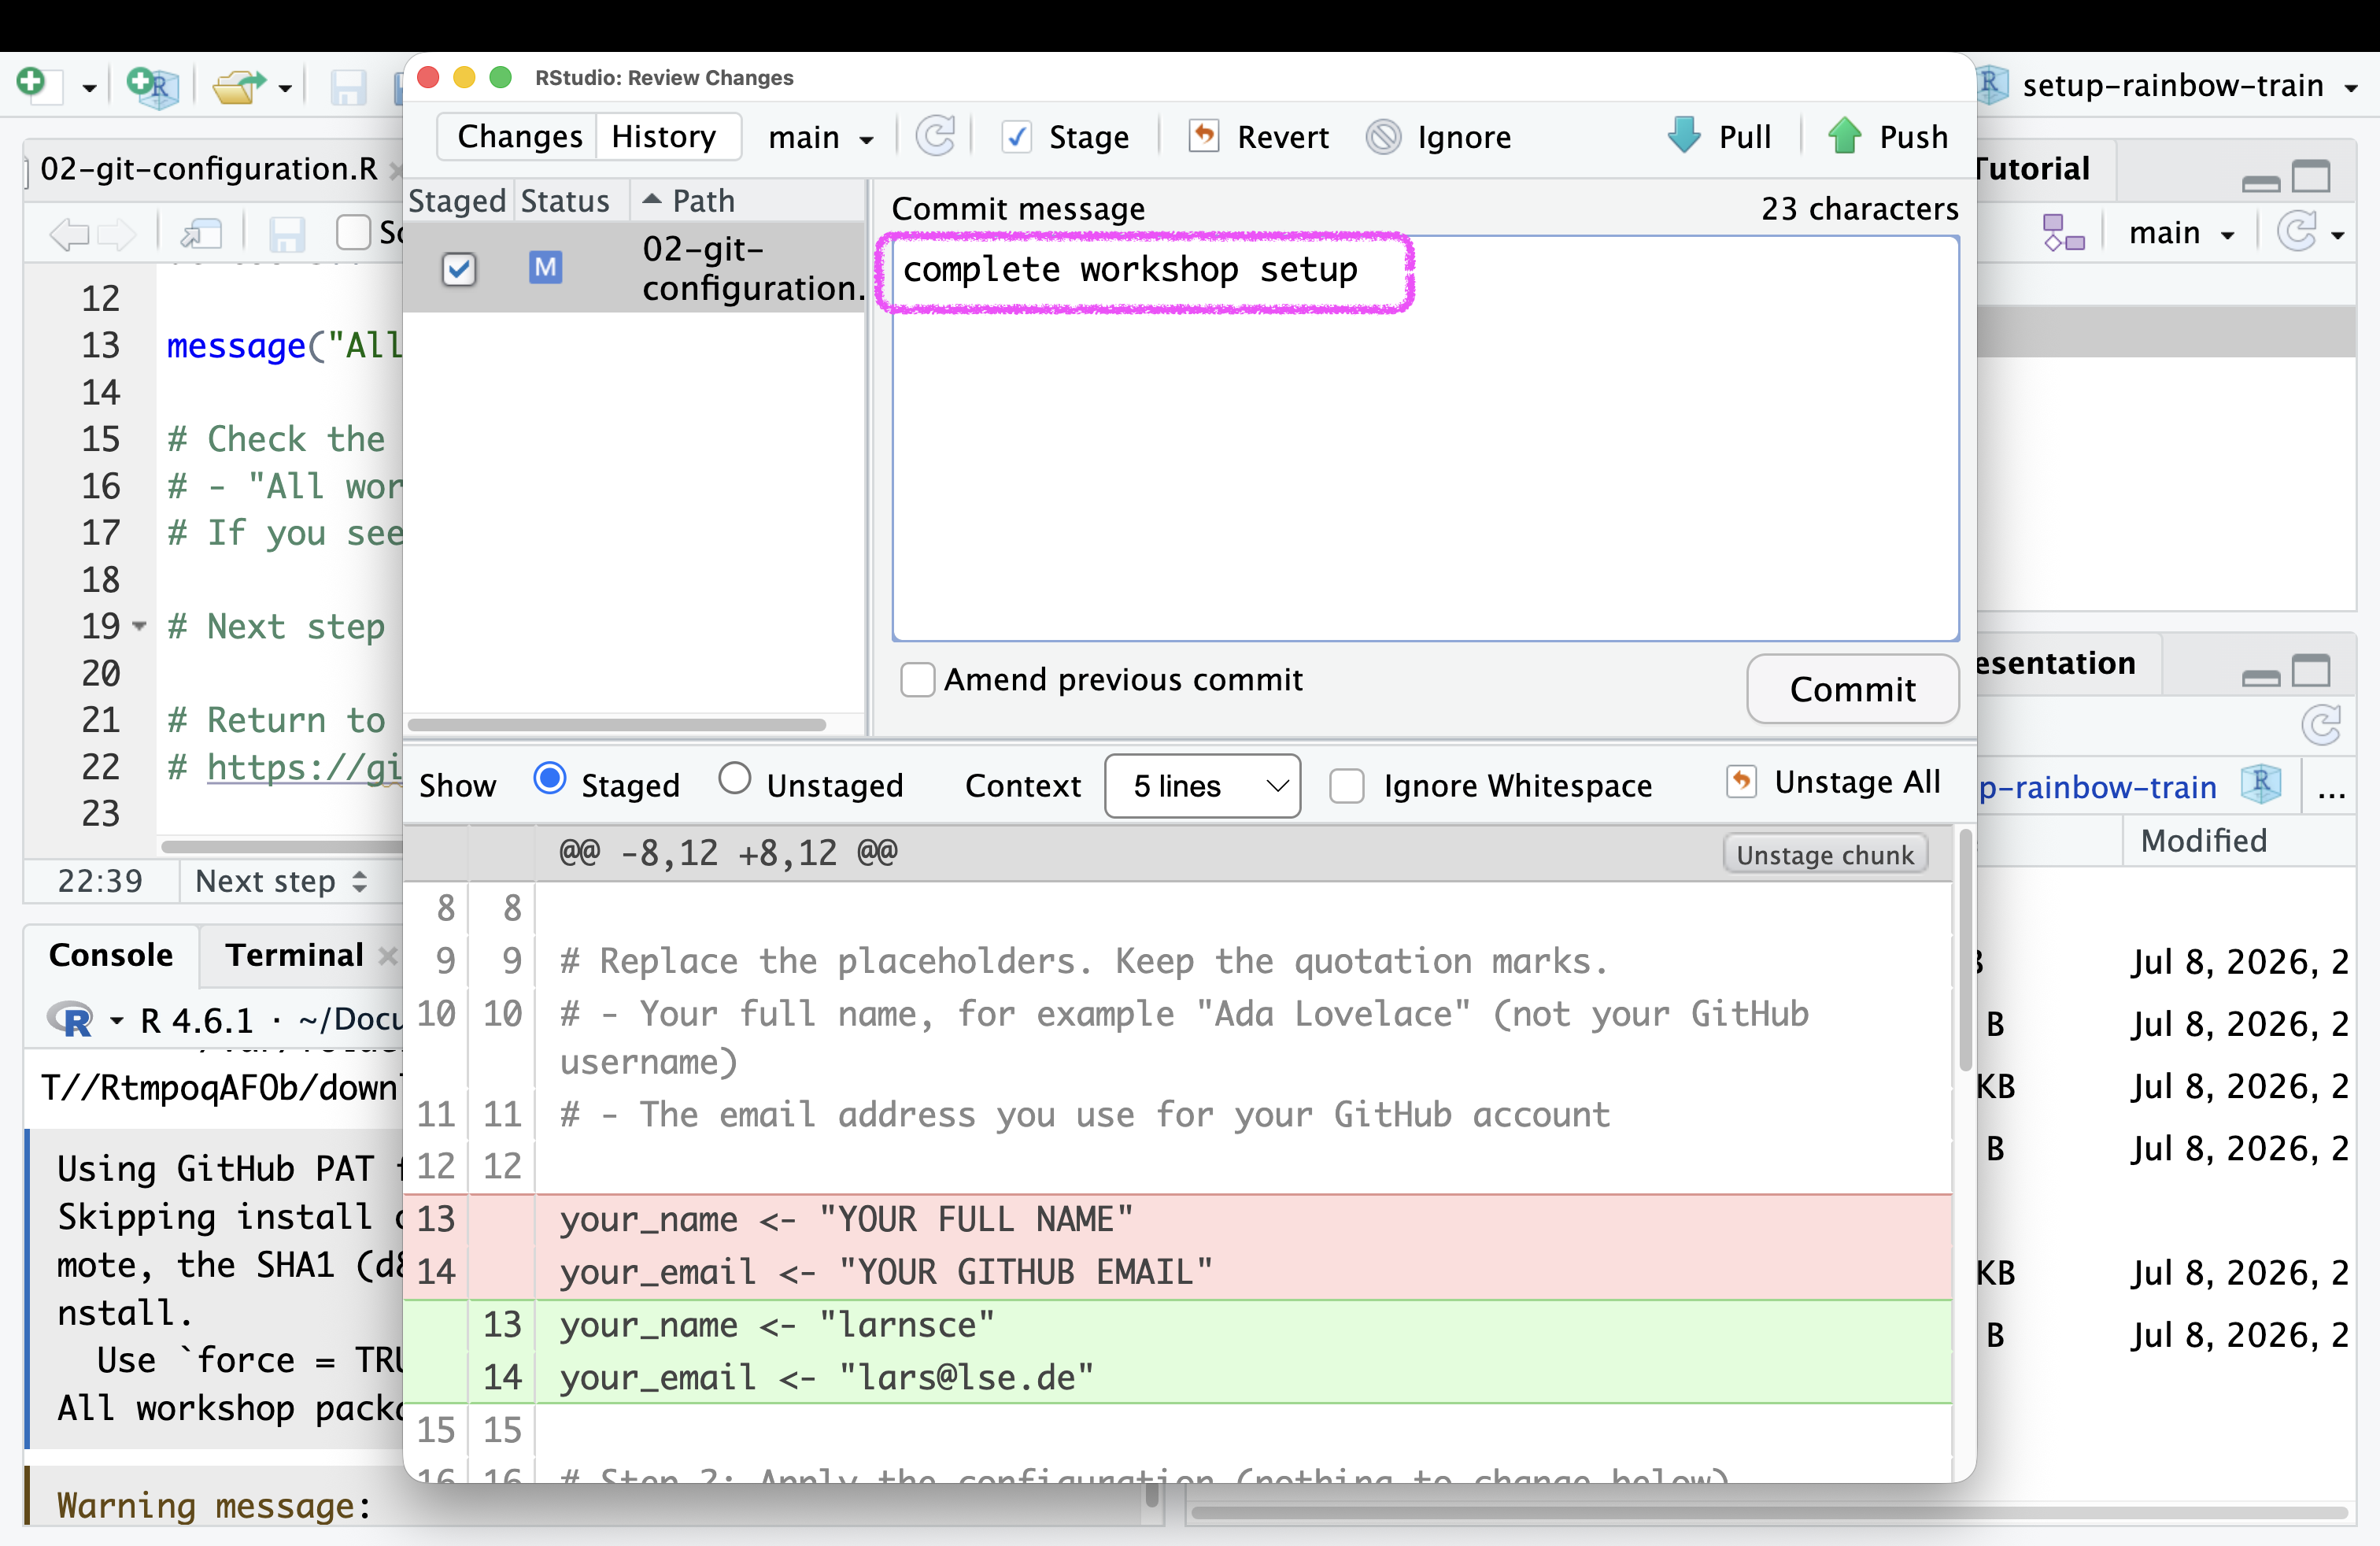
- Click on the “Commit” button.
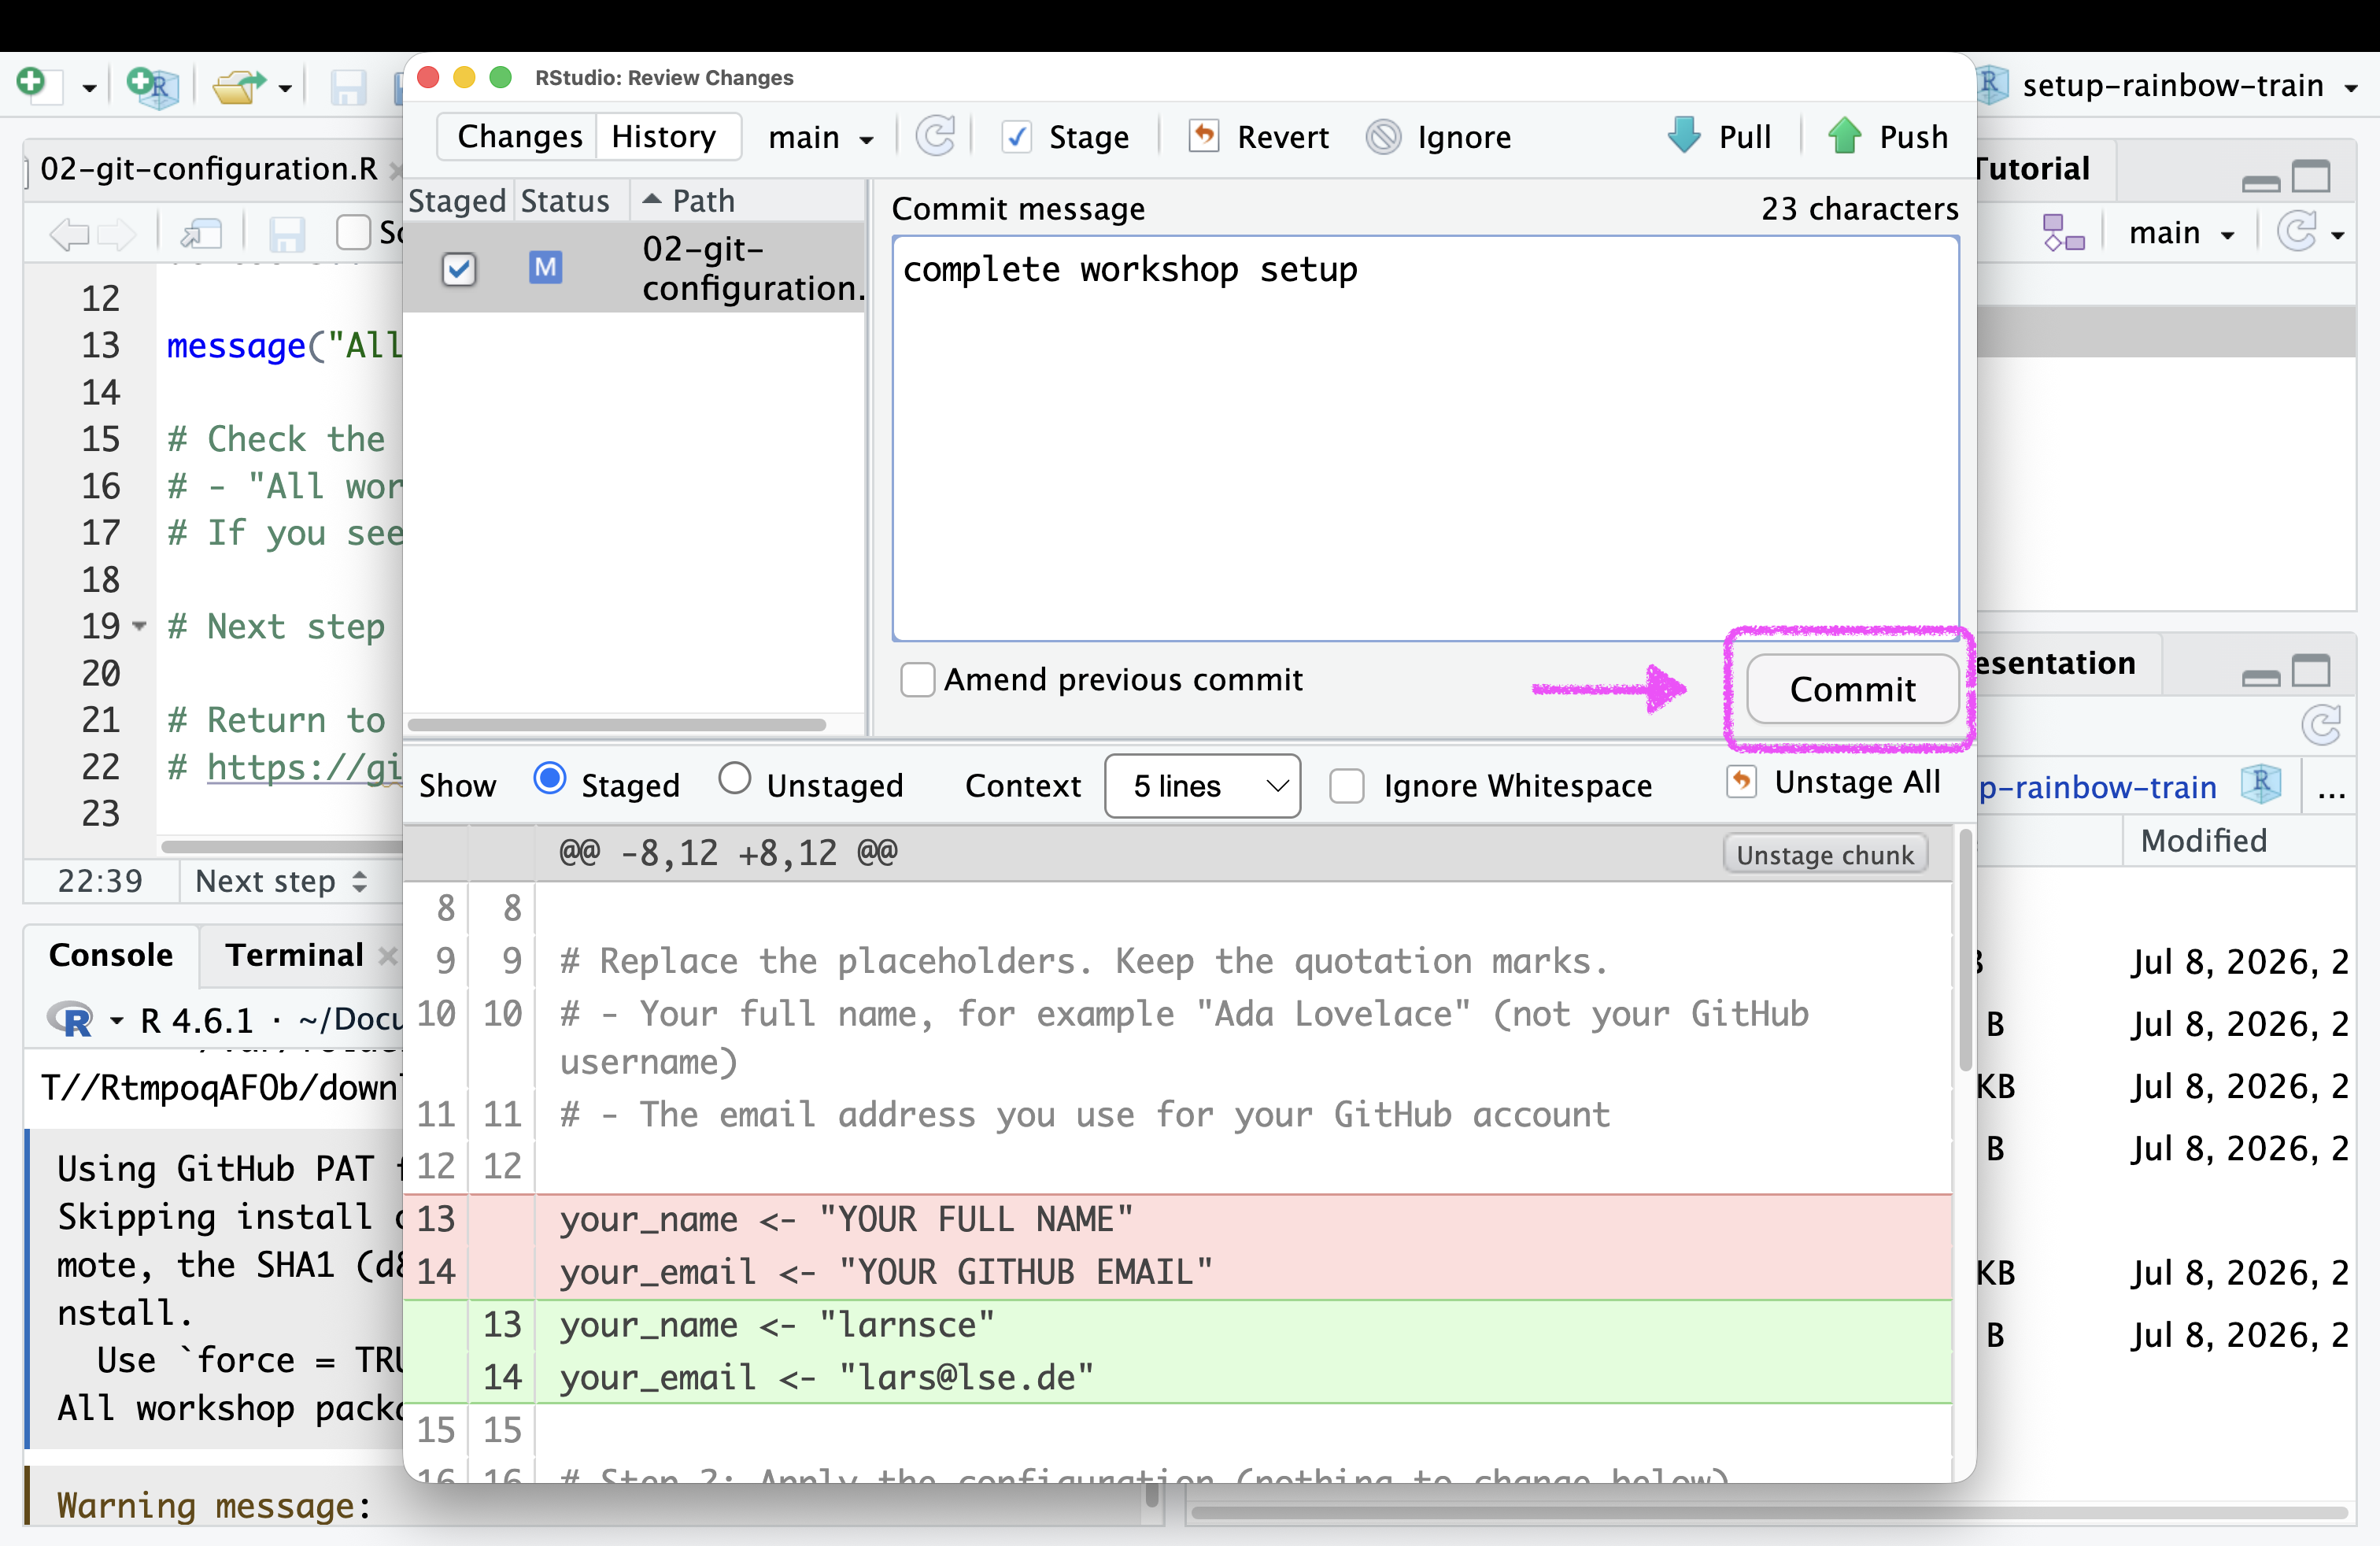
- Close the window that pops up.
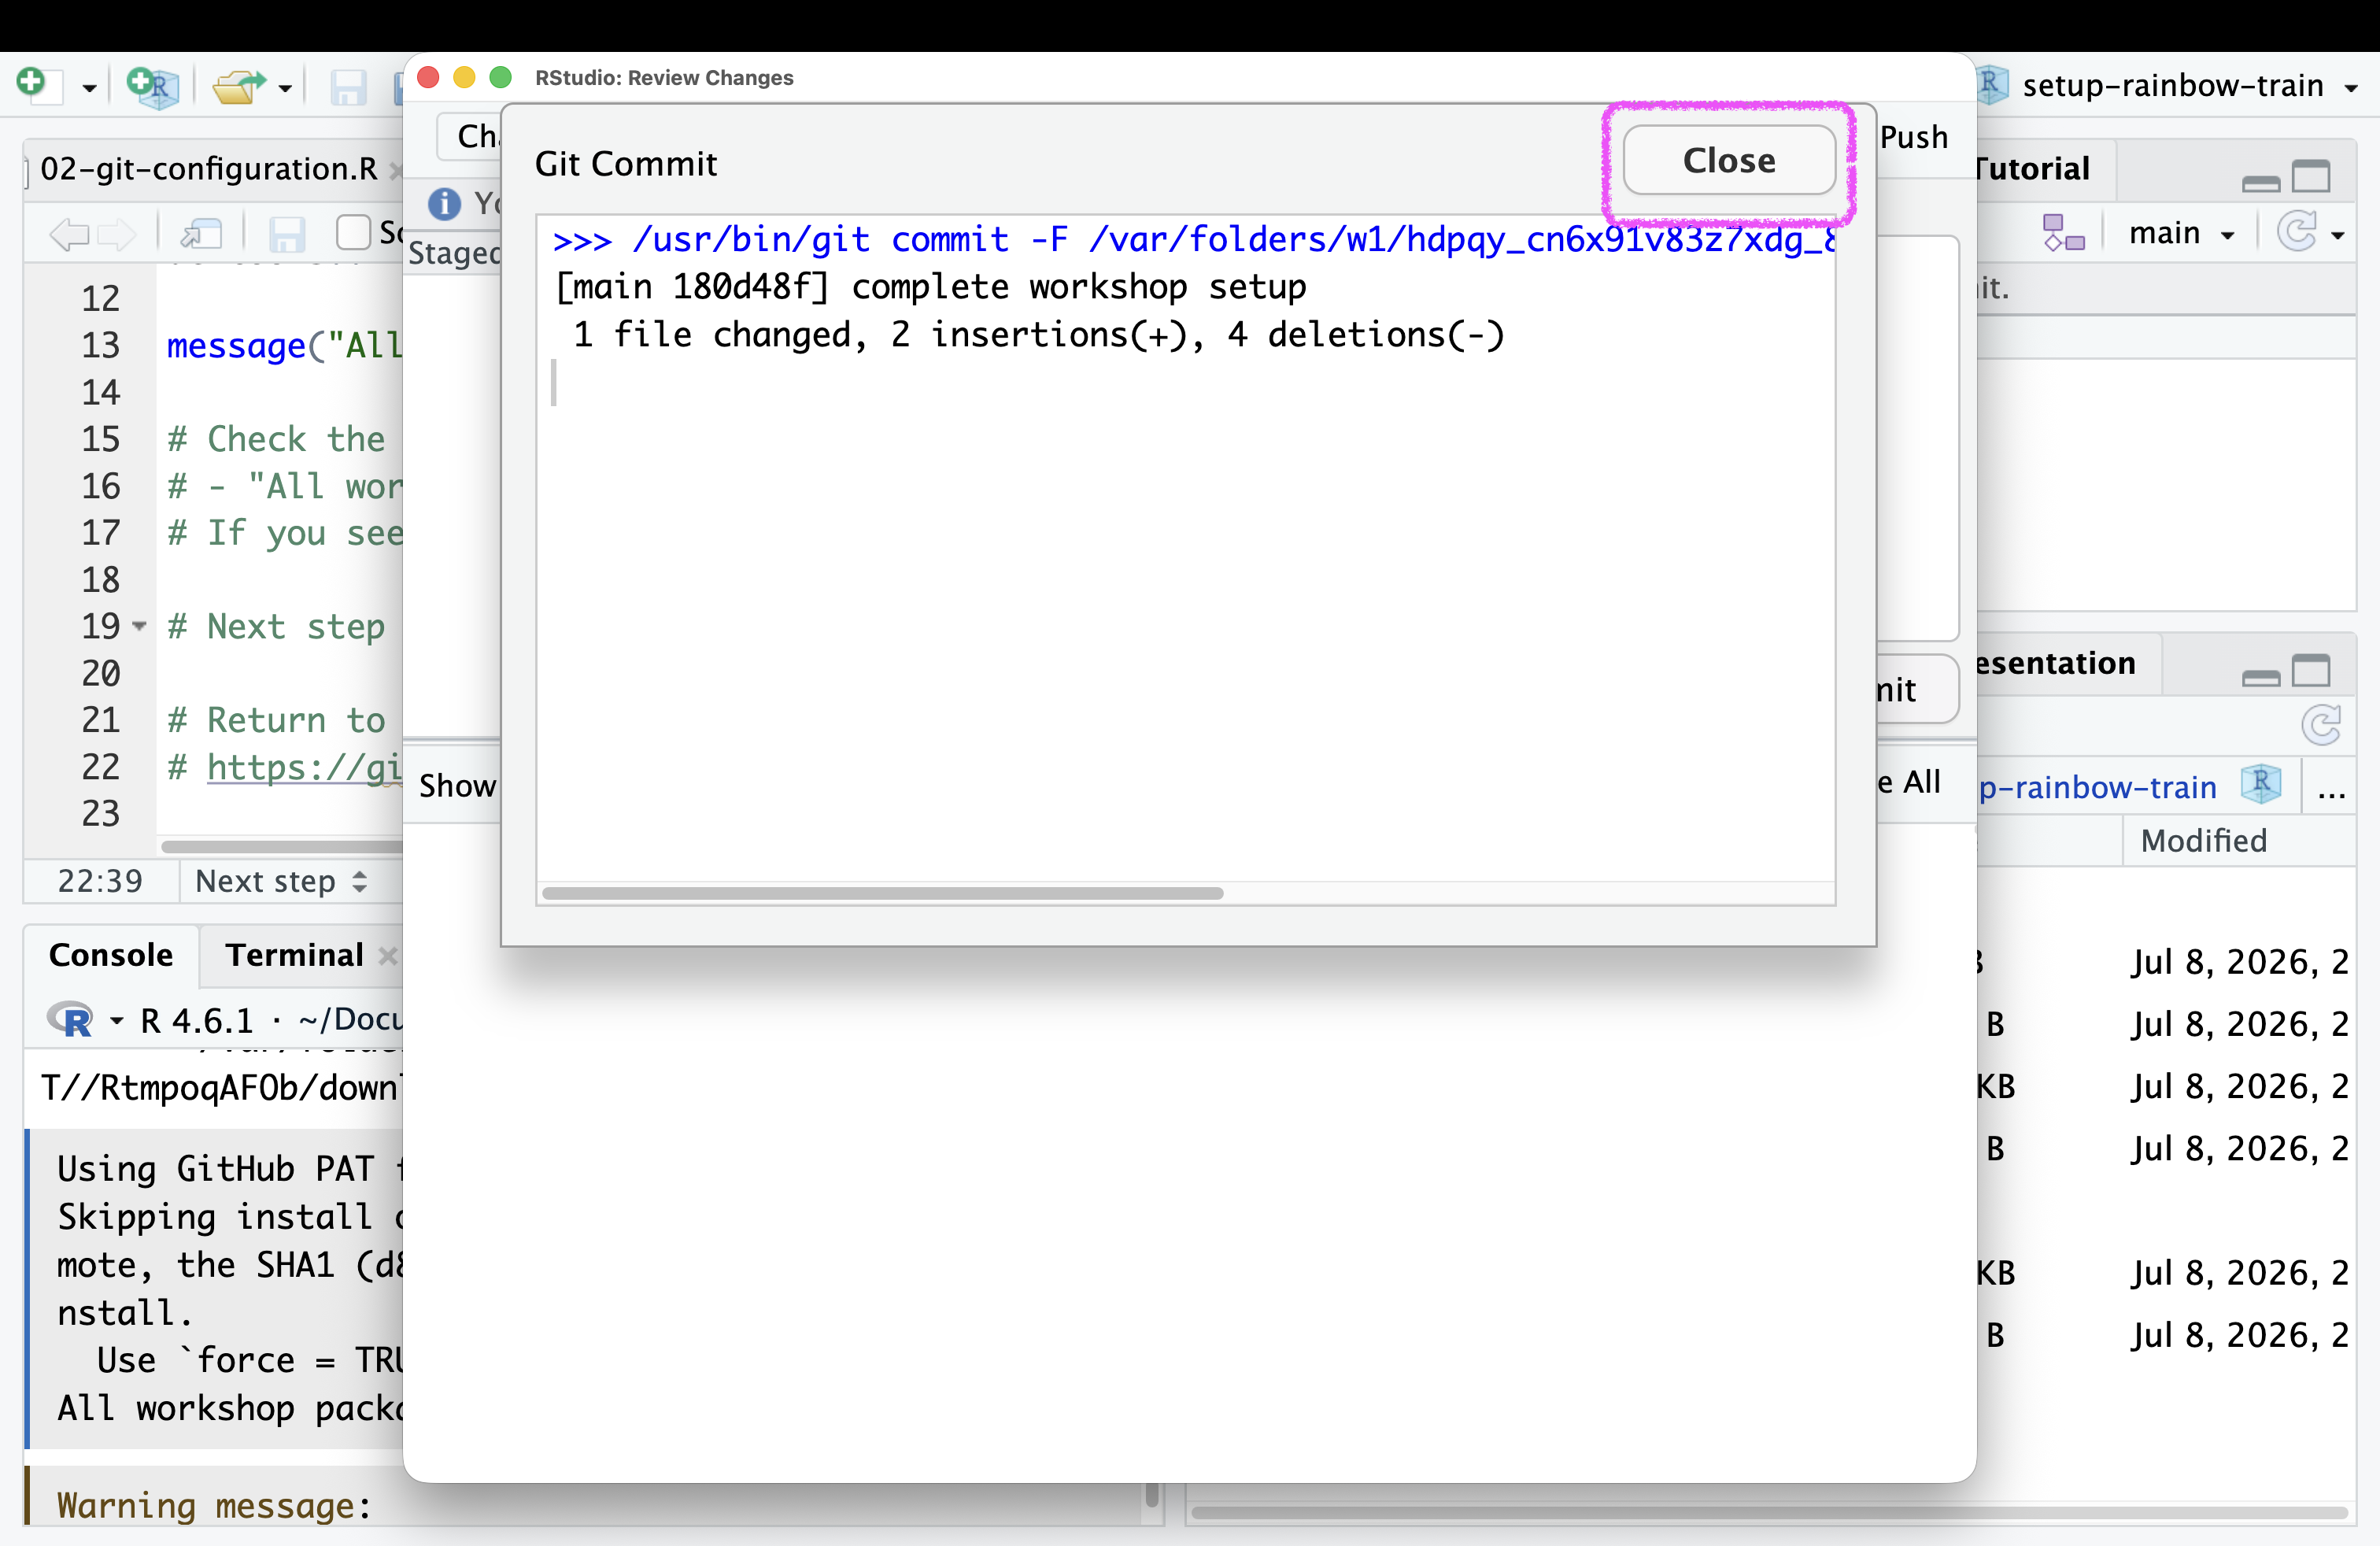
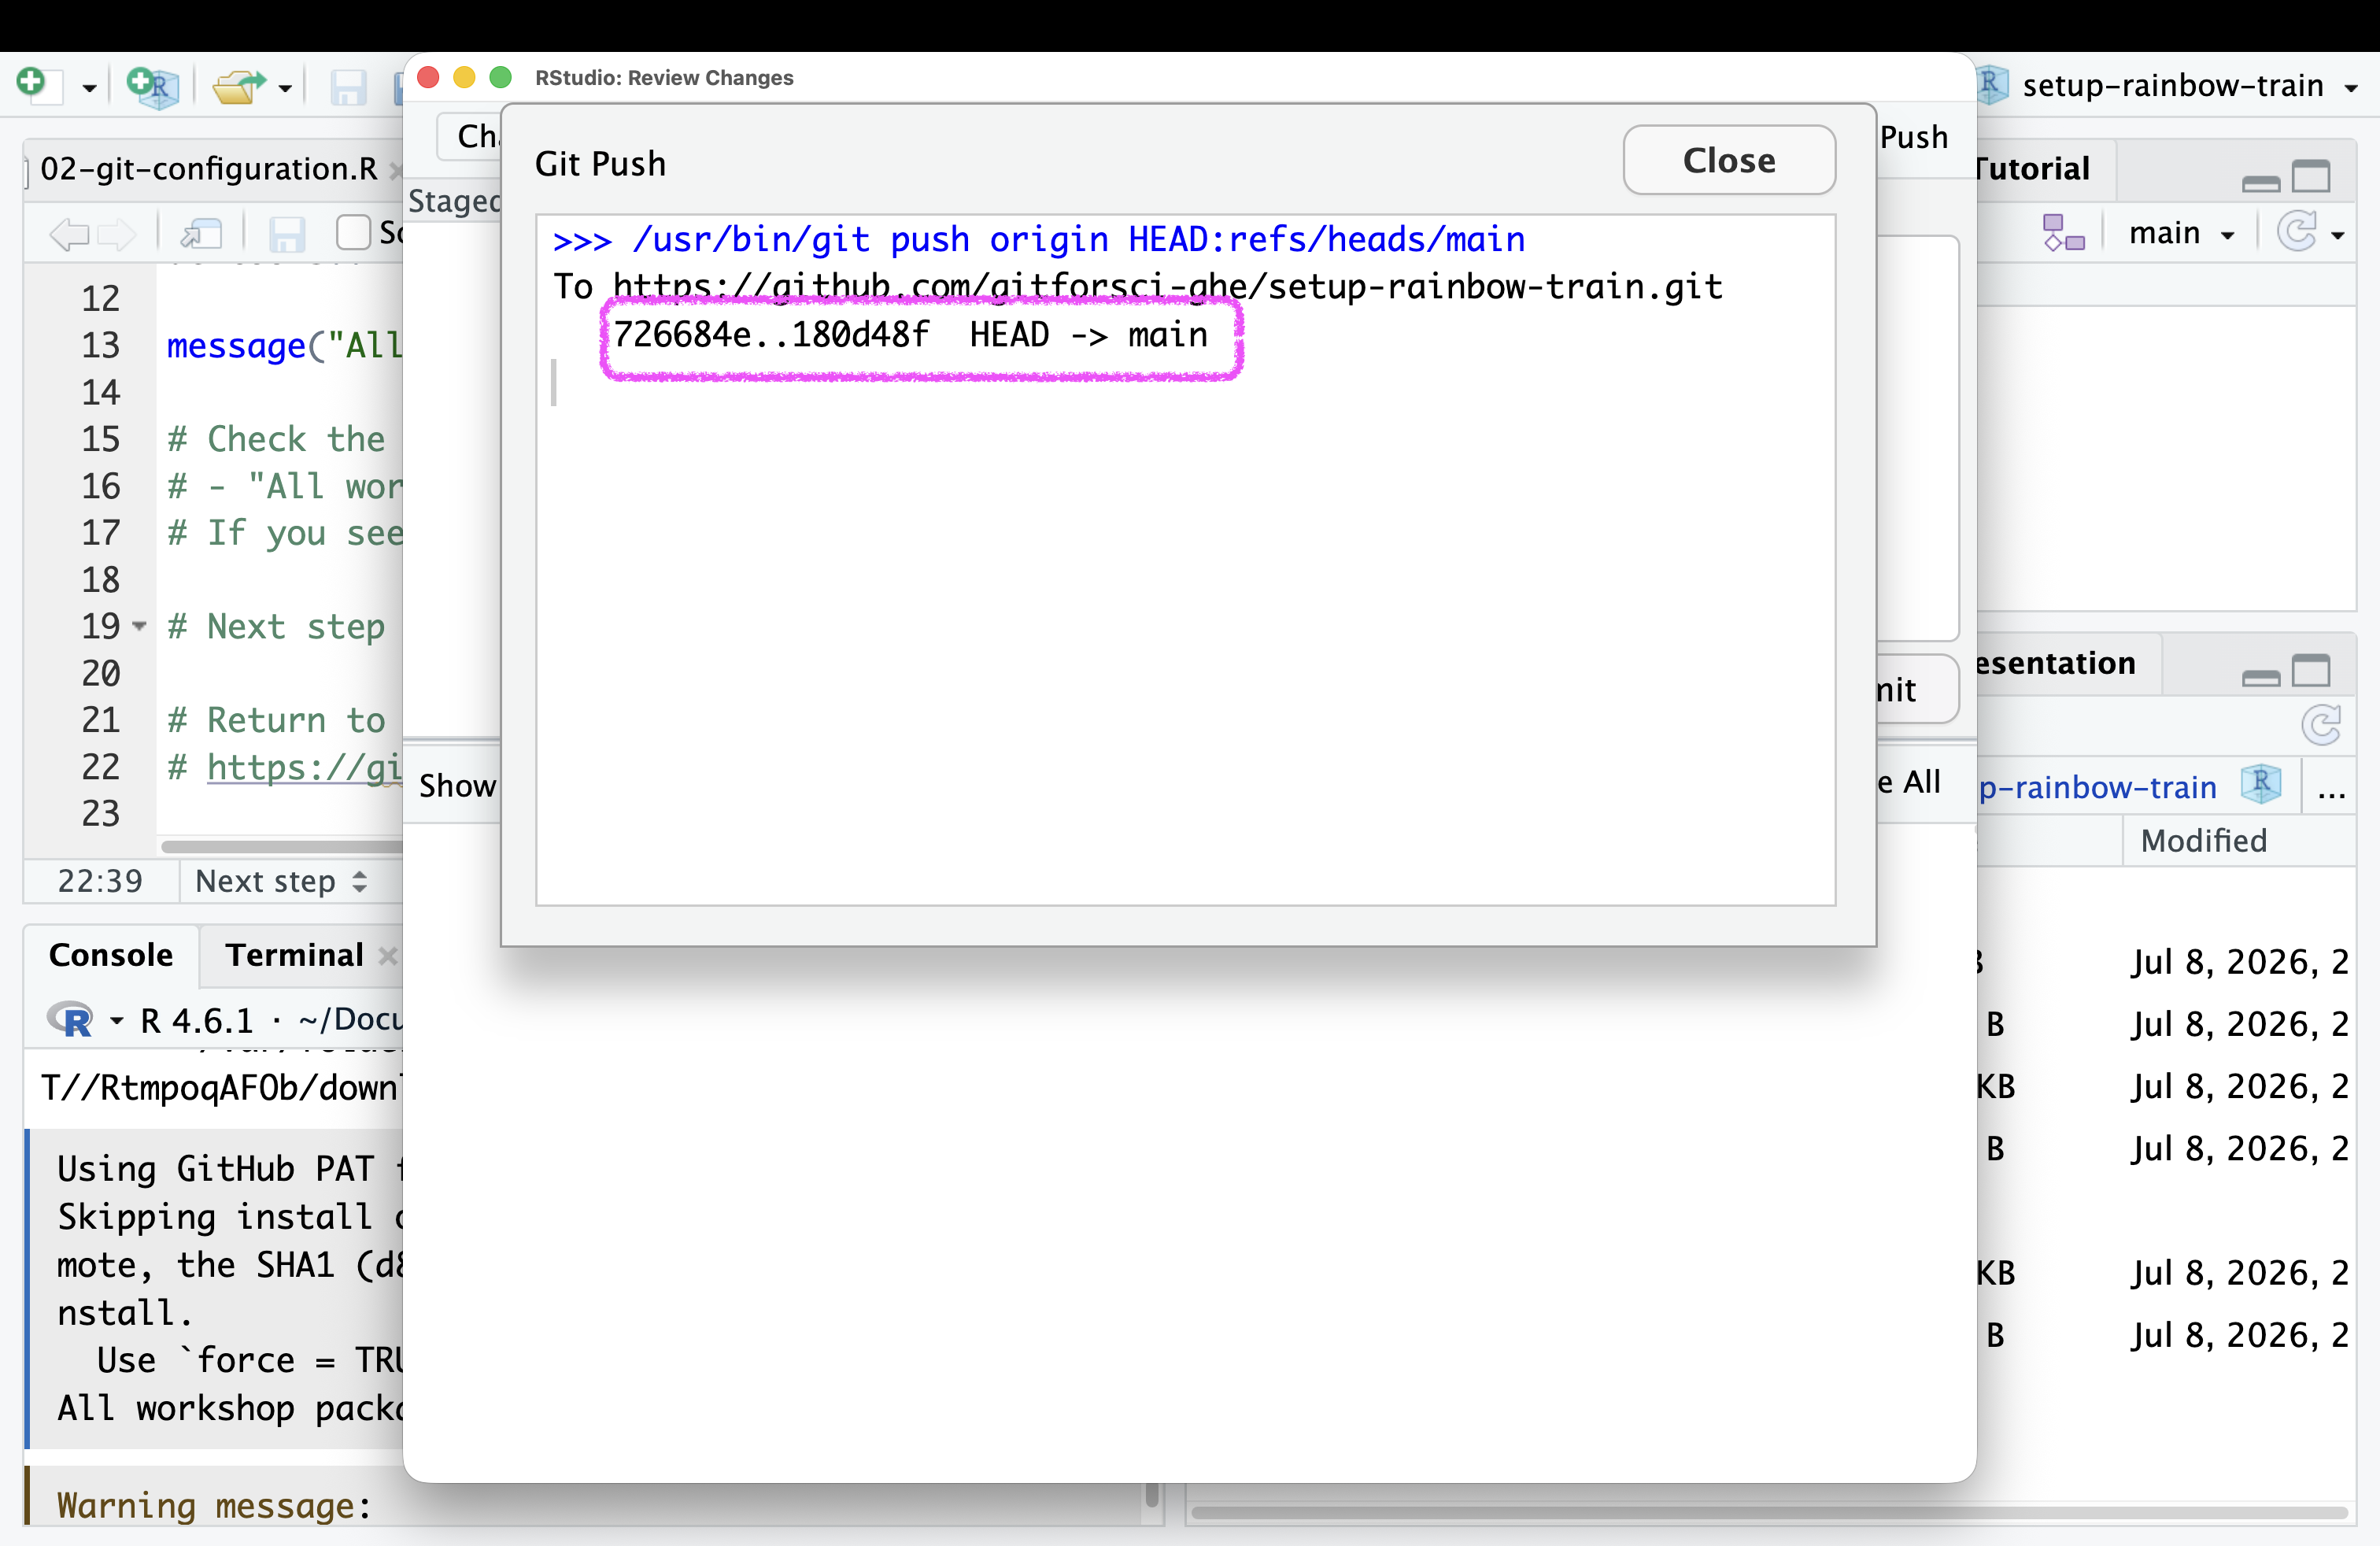
- Click on the “Push” button.
Above the top left window, you will now see the sentence “Your branch is ahead of ‘origin/main’ by 1 commit”. This means that you have made changes to your local repository that are not yet pushed to GitHub. It also means that your Commit was successful.
- Does the pop window say
HEAD -> mainas the final statement? Close it. If not, copy what it says and email it to me now.
- Verify that the changes have been pushed to GitHub by refreshing the page for your repository
setup-USERNAMEin your browser (for example,setup-rainbow-train). You should see the commit message you just wrote next to02-git-configuration.R.
TODO: screenshot of the GitHub repository page after push (to be added).
Next step
You have configured Git and pushed your first change. Continue with Step 6c: Install the workshop packages and report done.