Test your setup (1 of 3): Clone the setup repository
This is the first of three short steps that test whether your setup is complete and working. In this step, you accept your invitation to the GitHub organization and clone your personal setup repository into RStudio.
You can only complete this step once you have received the invitation email to the gitforsci-ghe organization, which I send after you complete the pre-course survey. No email yet? Confirm that you have completed the pre-course survey, check your spam folder, and then contact me by email: lschoebitz@ethz.ch
Step 1: Accept invitation from GitHub
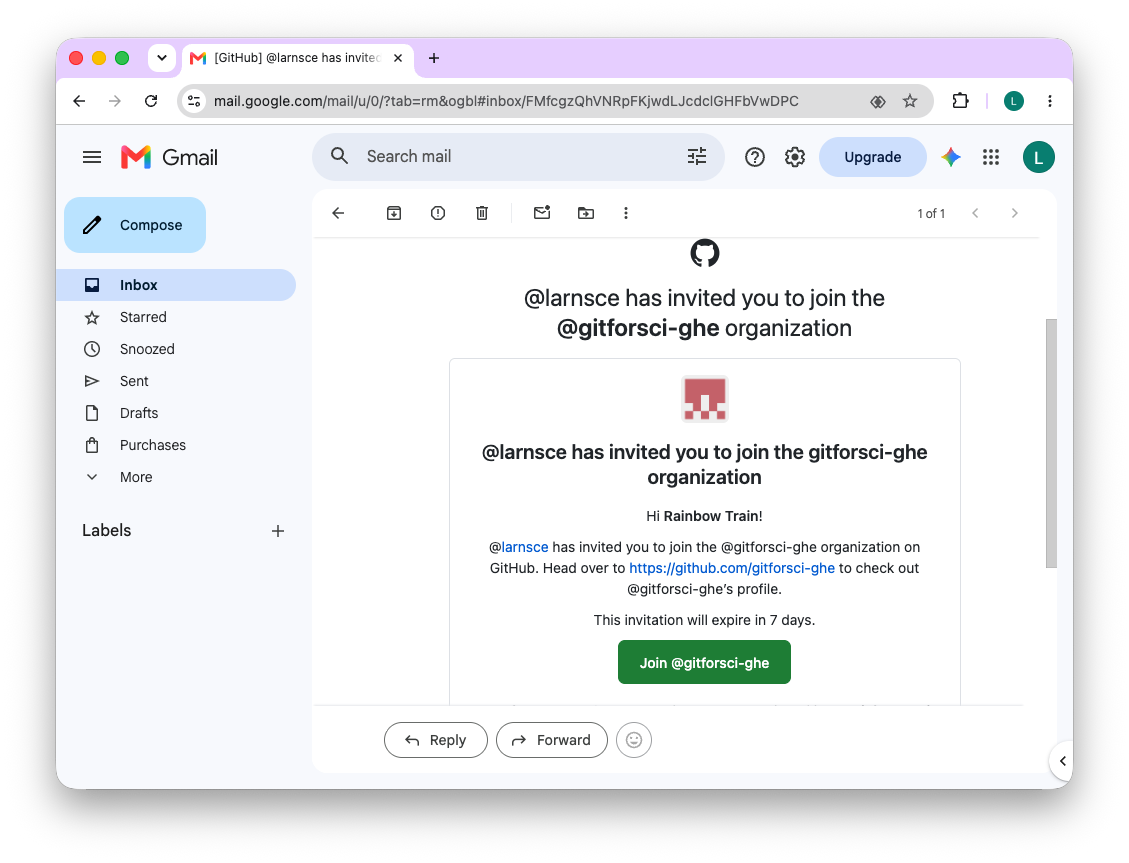
- Open your email that you used to register for your GitHub account.
- Find the email from GitHub with the subject “[GitHub] @larnsce invited you to join the ‘gitforsci-ghe’ organization”.
- Click on “Join @gitforsci-ghe” link in the email to accept the invitation and work through the steps that follow in your browser to accept the invitation.
Step 2: Create a bookmark
- Open the landing page for the GitHub organization ‘gitforsci-ghe’: https://github.com/gitforsci-ghe
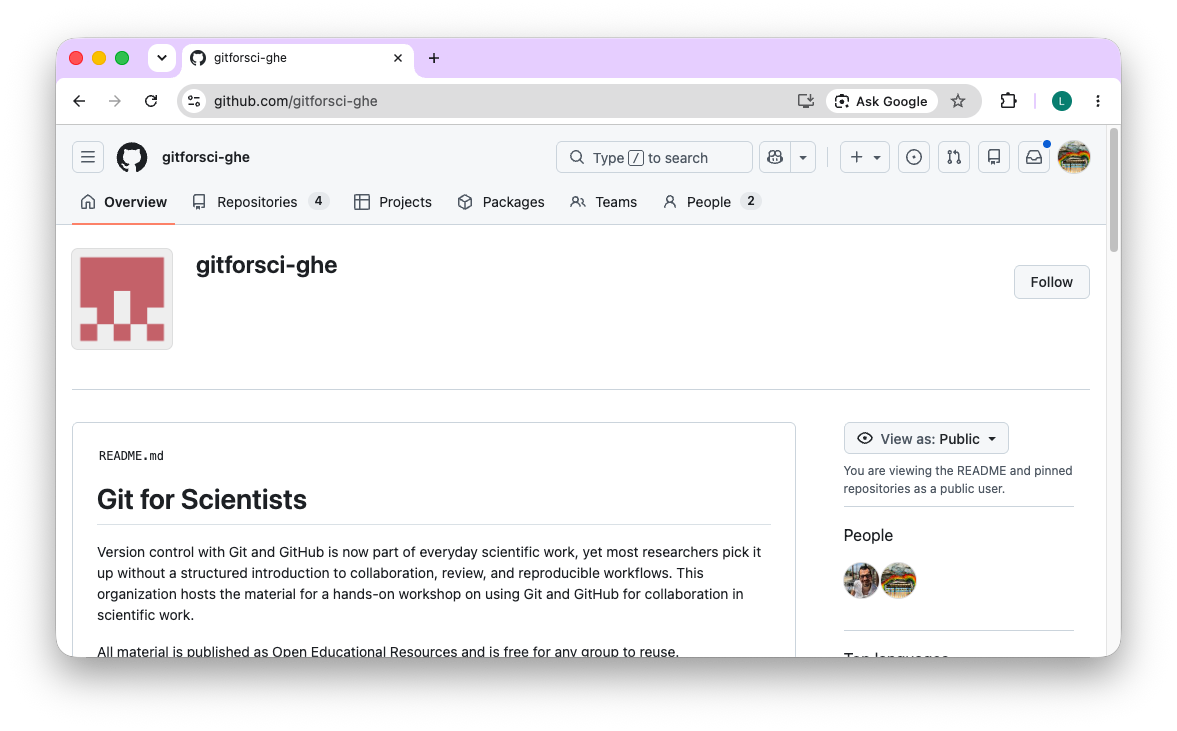
- Bookmark this page in your browser.
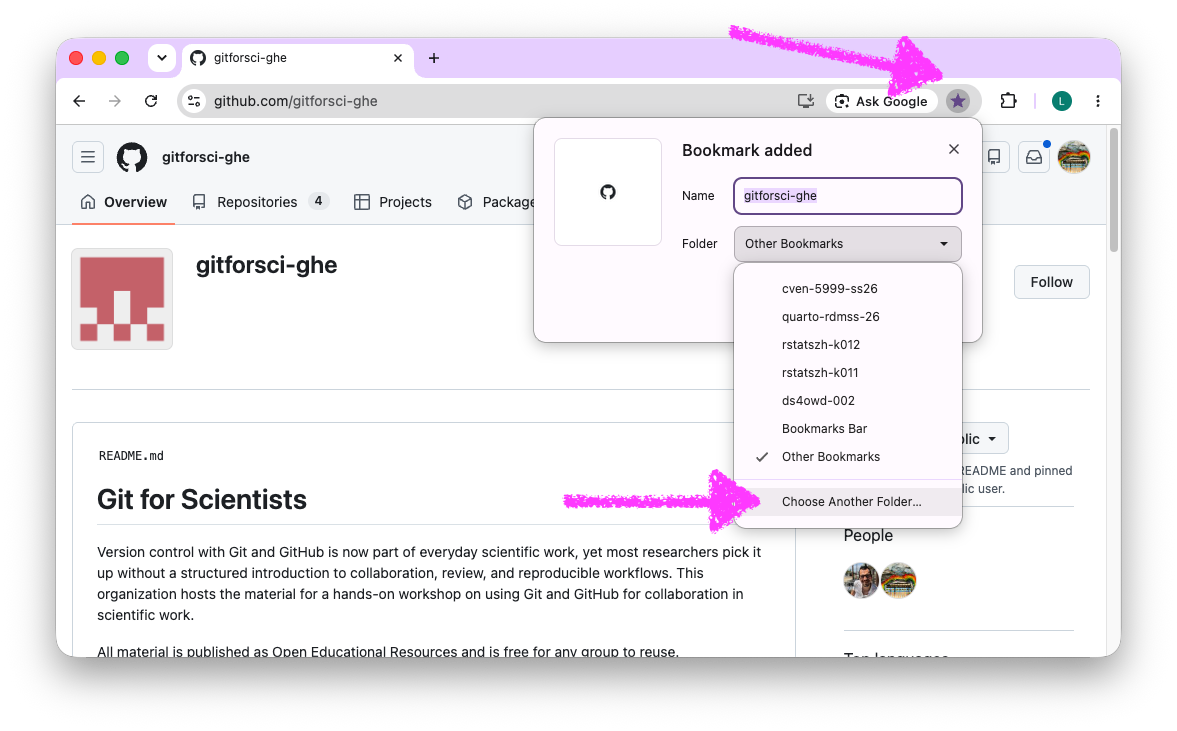
- Organize the bookmark into a folder called “gitforsci-ghe” or similar.
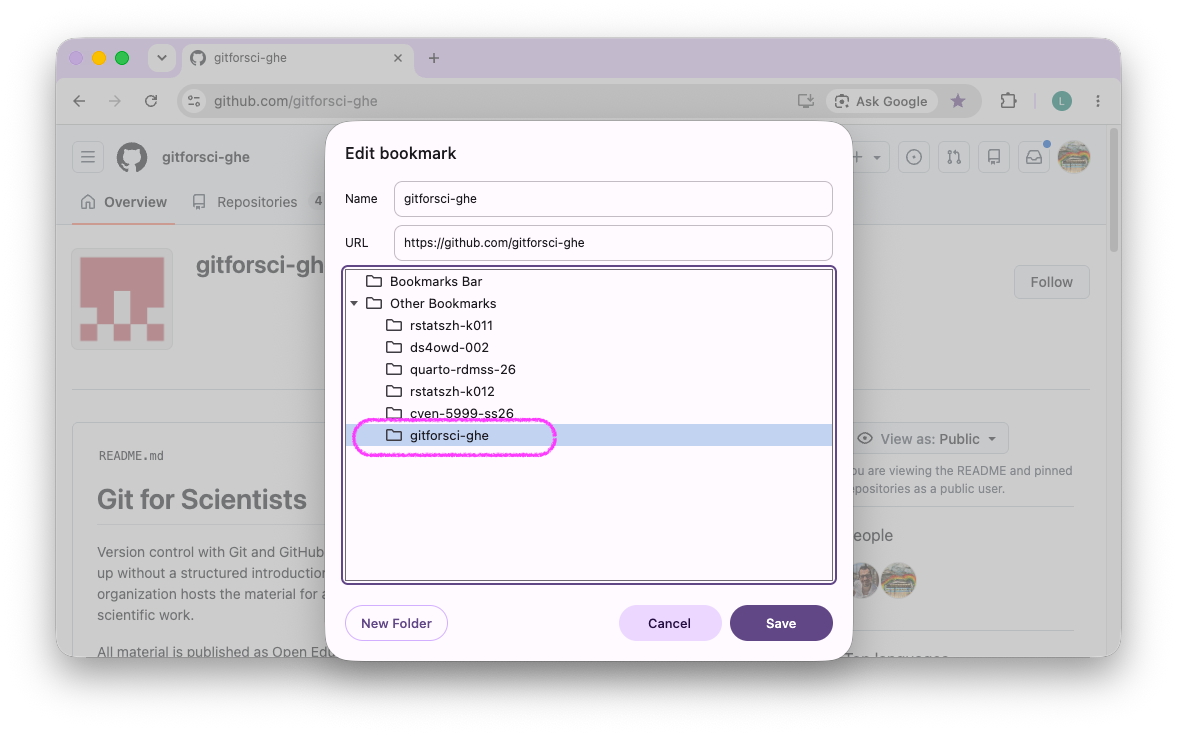
- Use this folder to add other bookmarks that are relevant for this workshop (e.g. the workshop website)
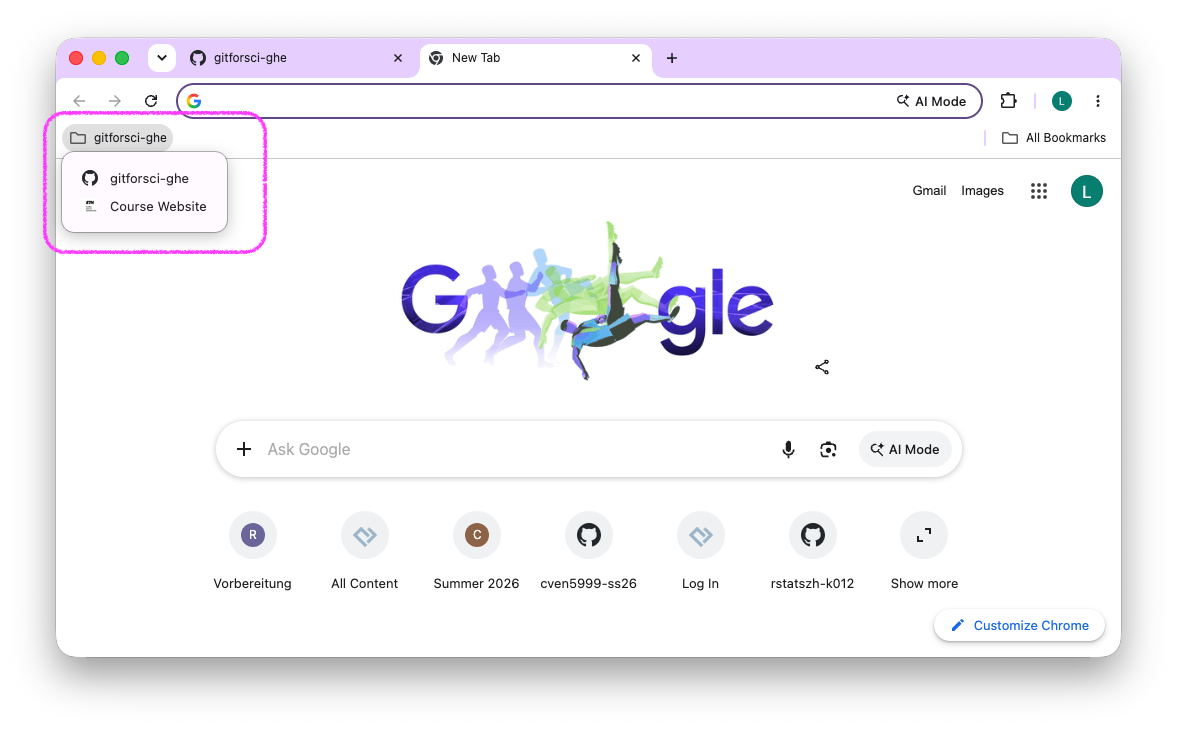
Step 3: Clone the setup repository
Open the landing page for the GitHub organization ‘gitforsci-ghe’: https://github.com/gitforsci-ghe (try to use your bookmark)
Navigate down the page to the section “Repositories” and use the search field to find the repository called
setup-USERNAMEwhere USERNAME is your GitHub username.
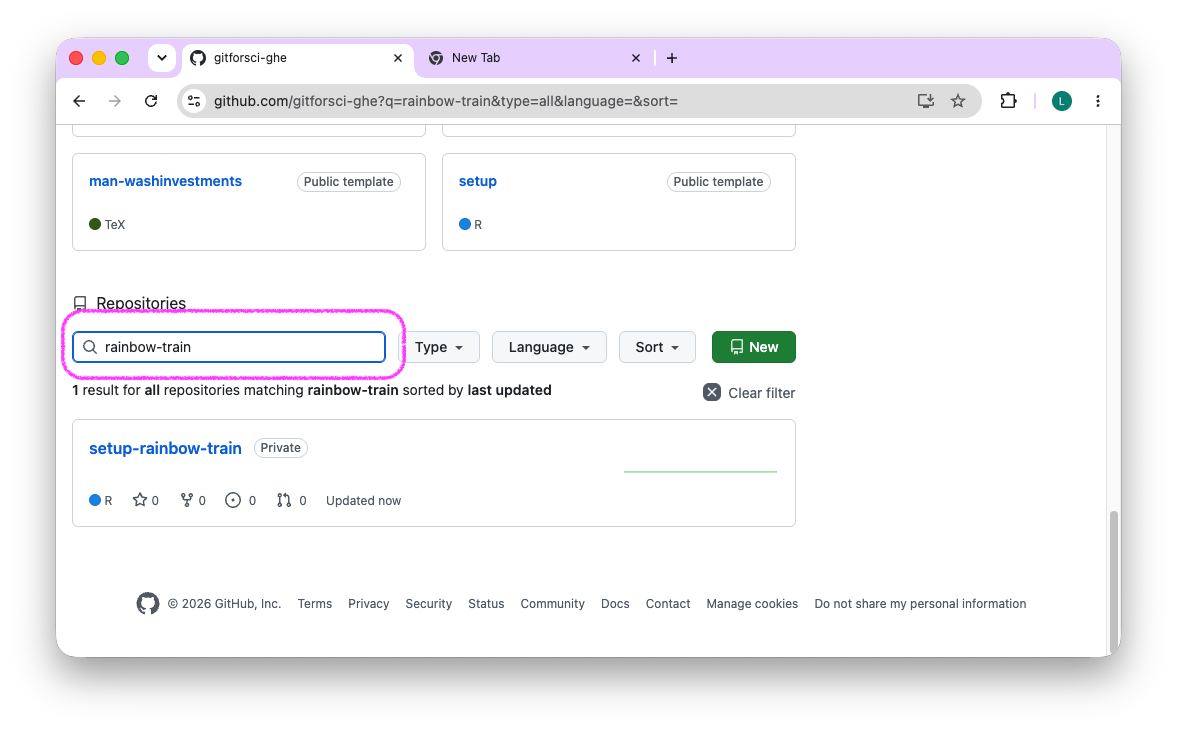
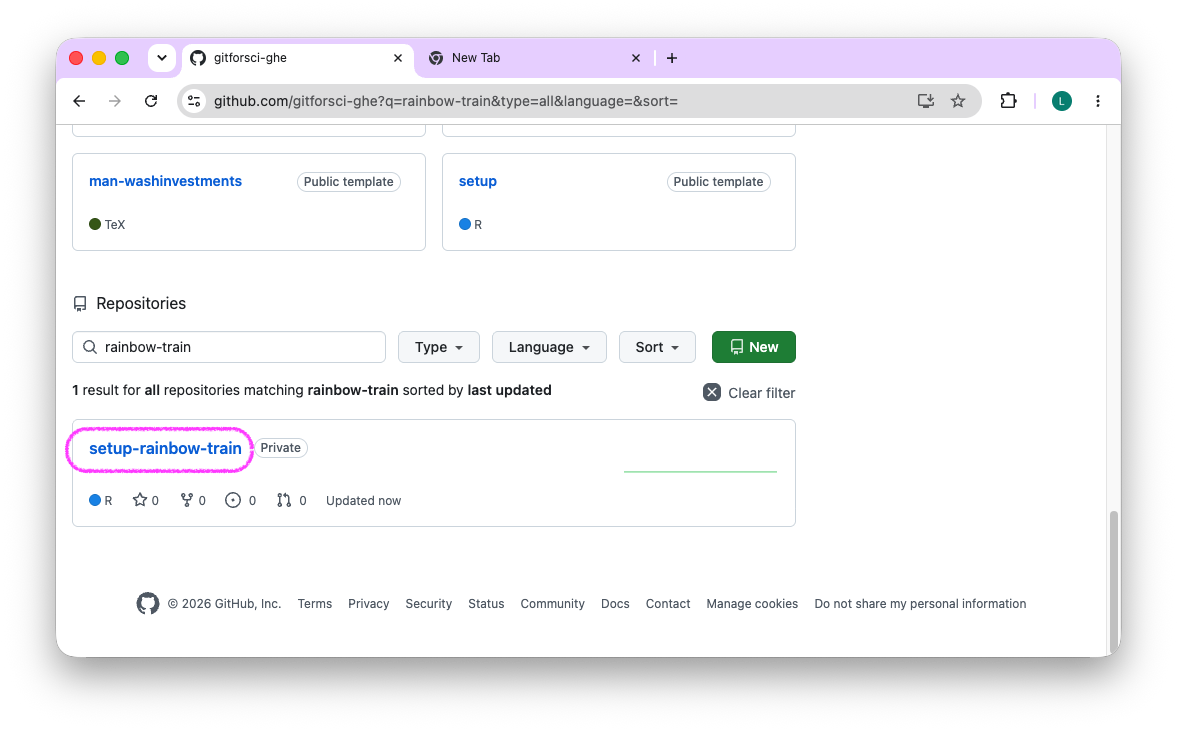
- Click on the repository name to open it.
Contact me by email if your repository is not there. I will create it for you.
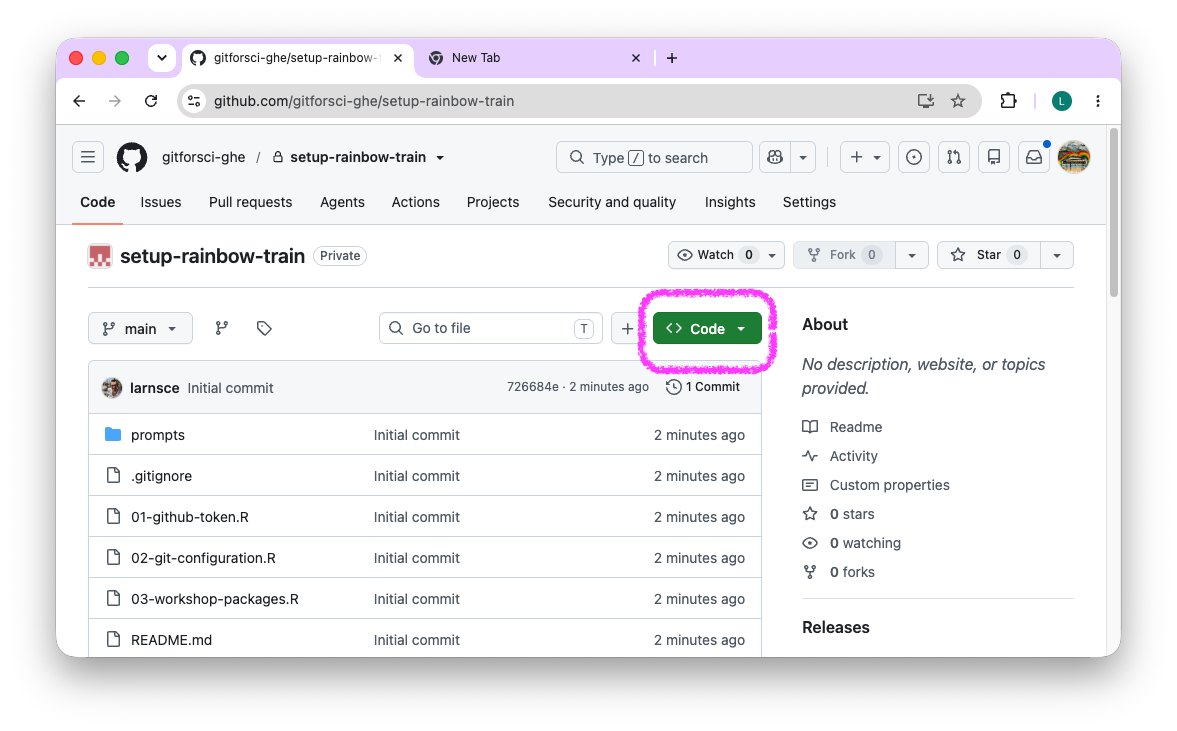
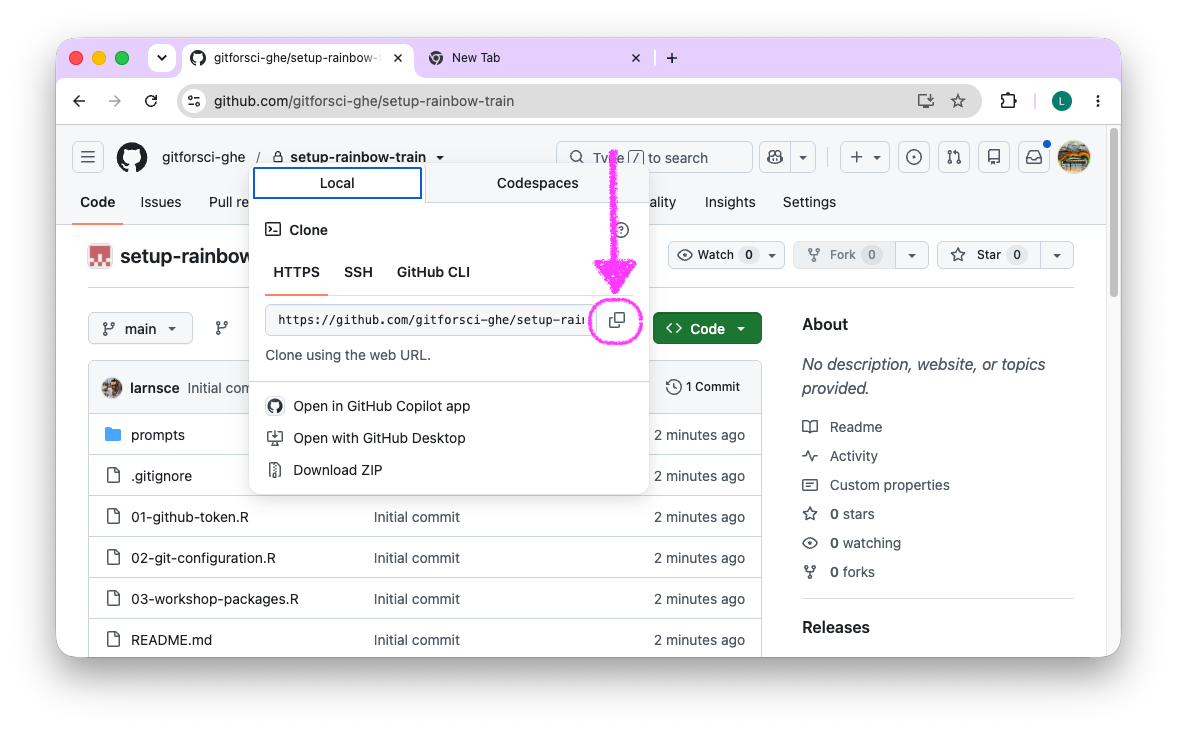
- Click on the green “Code” button.
- Copy the HTTPS URL to your clipboard by clicking on the clipboard sign.
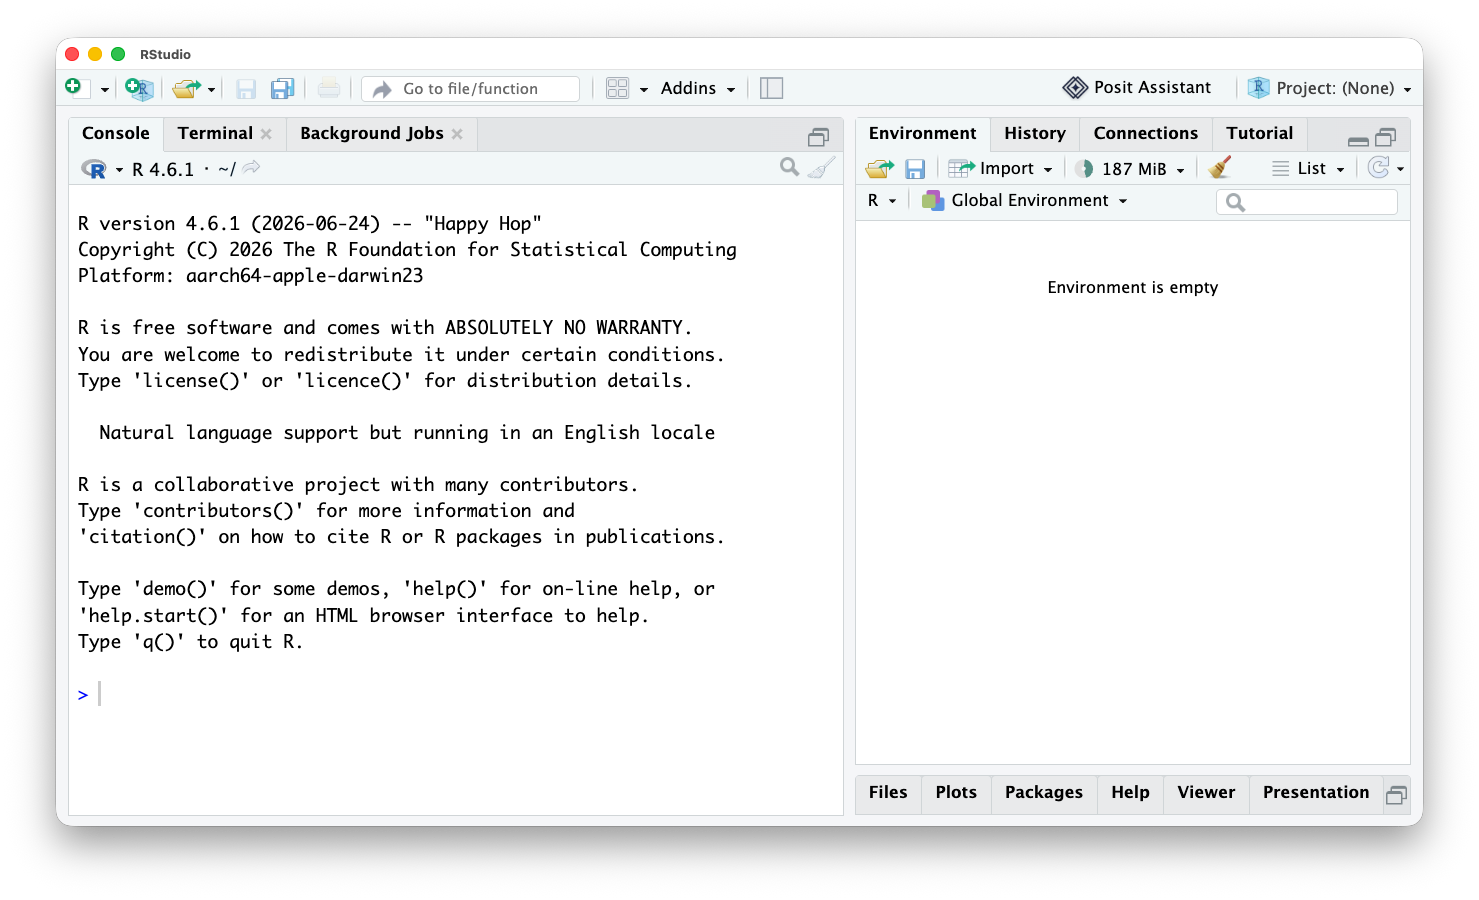
- Open the RStudio IDE on your laptop.
I am working on MacOS, but the steps should be similar on Windows.
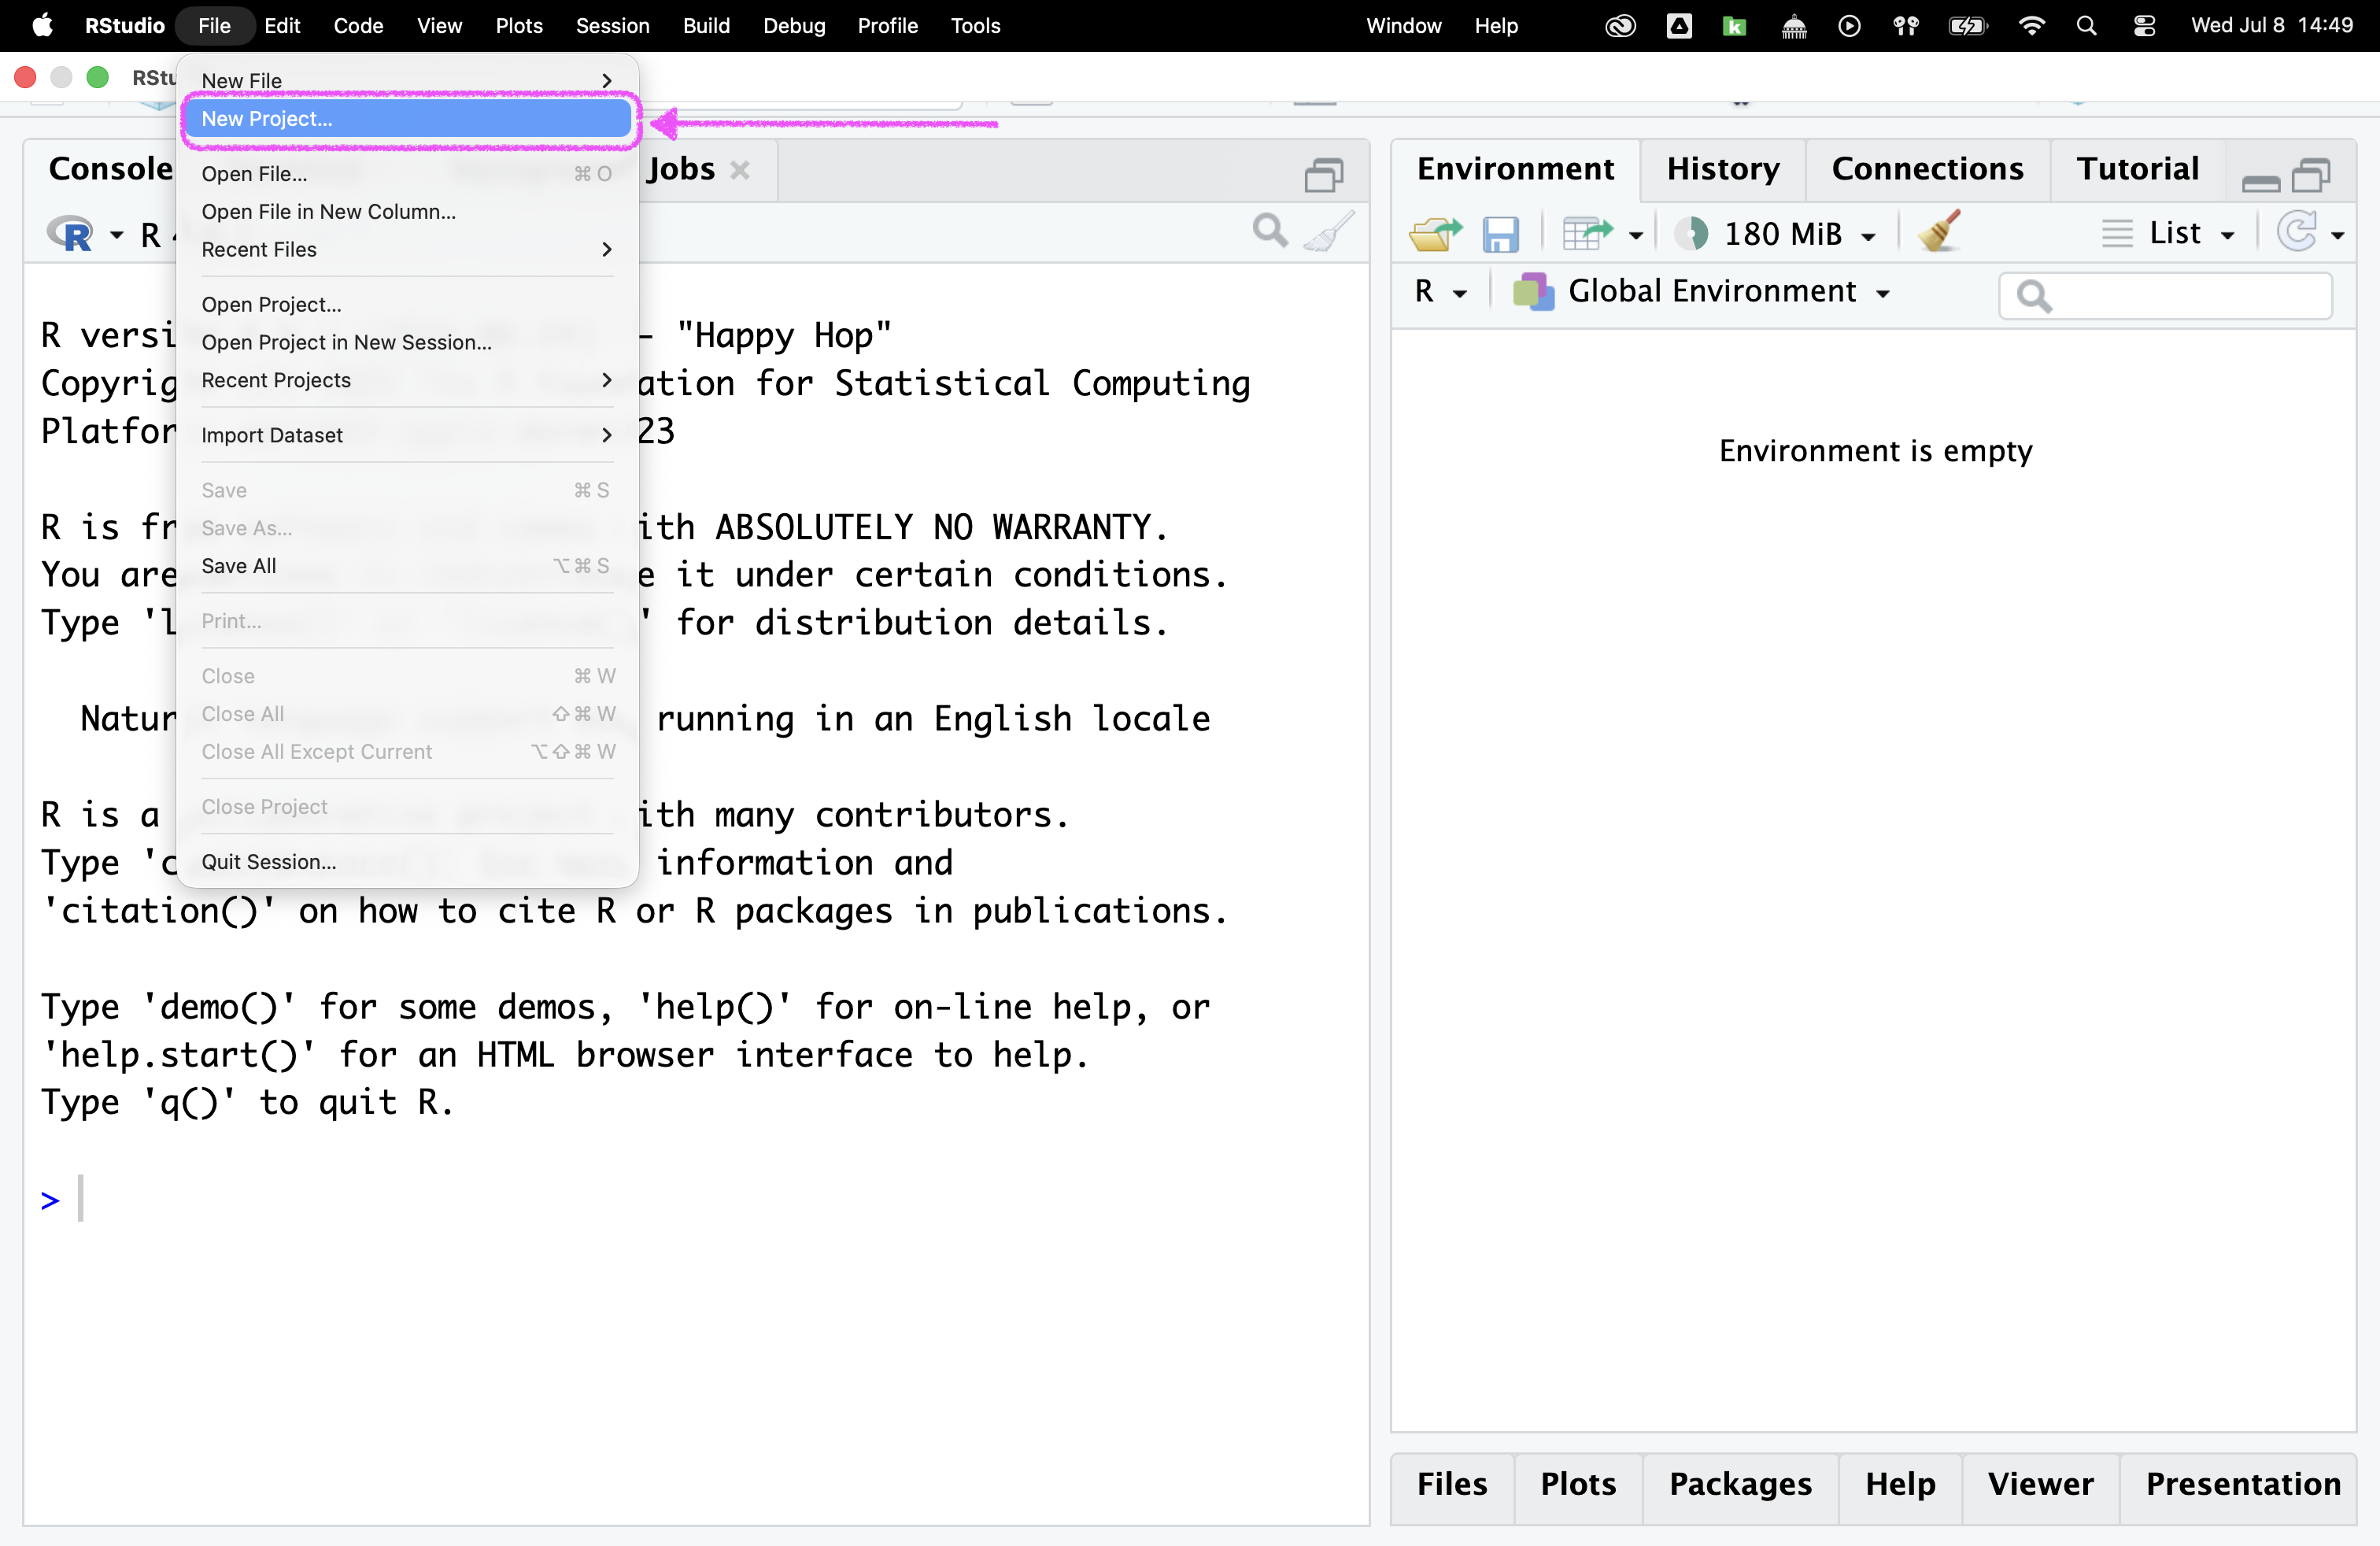
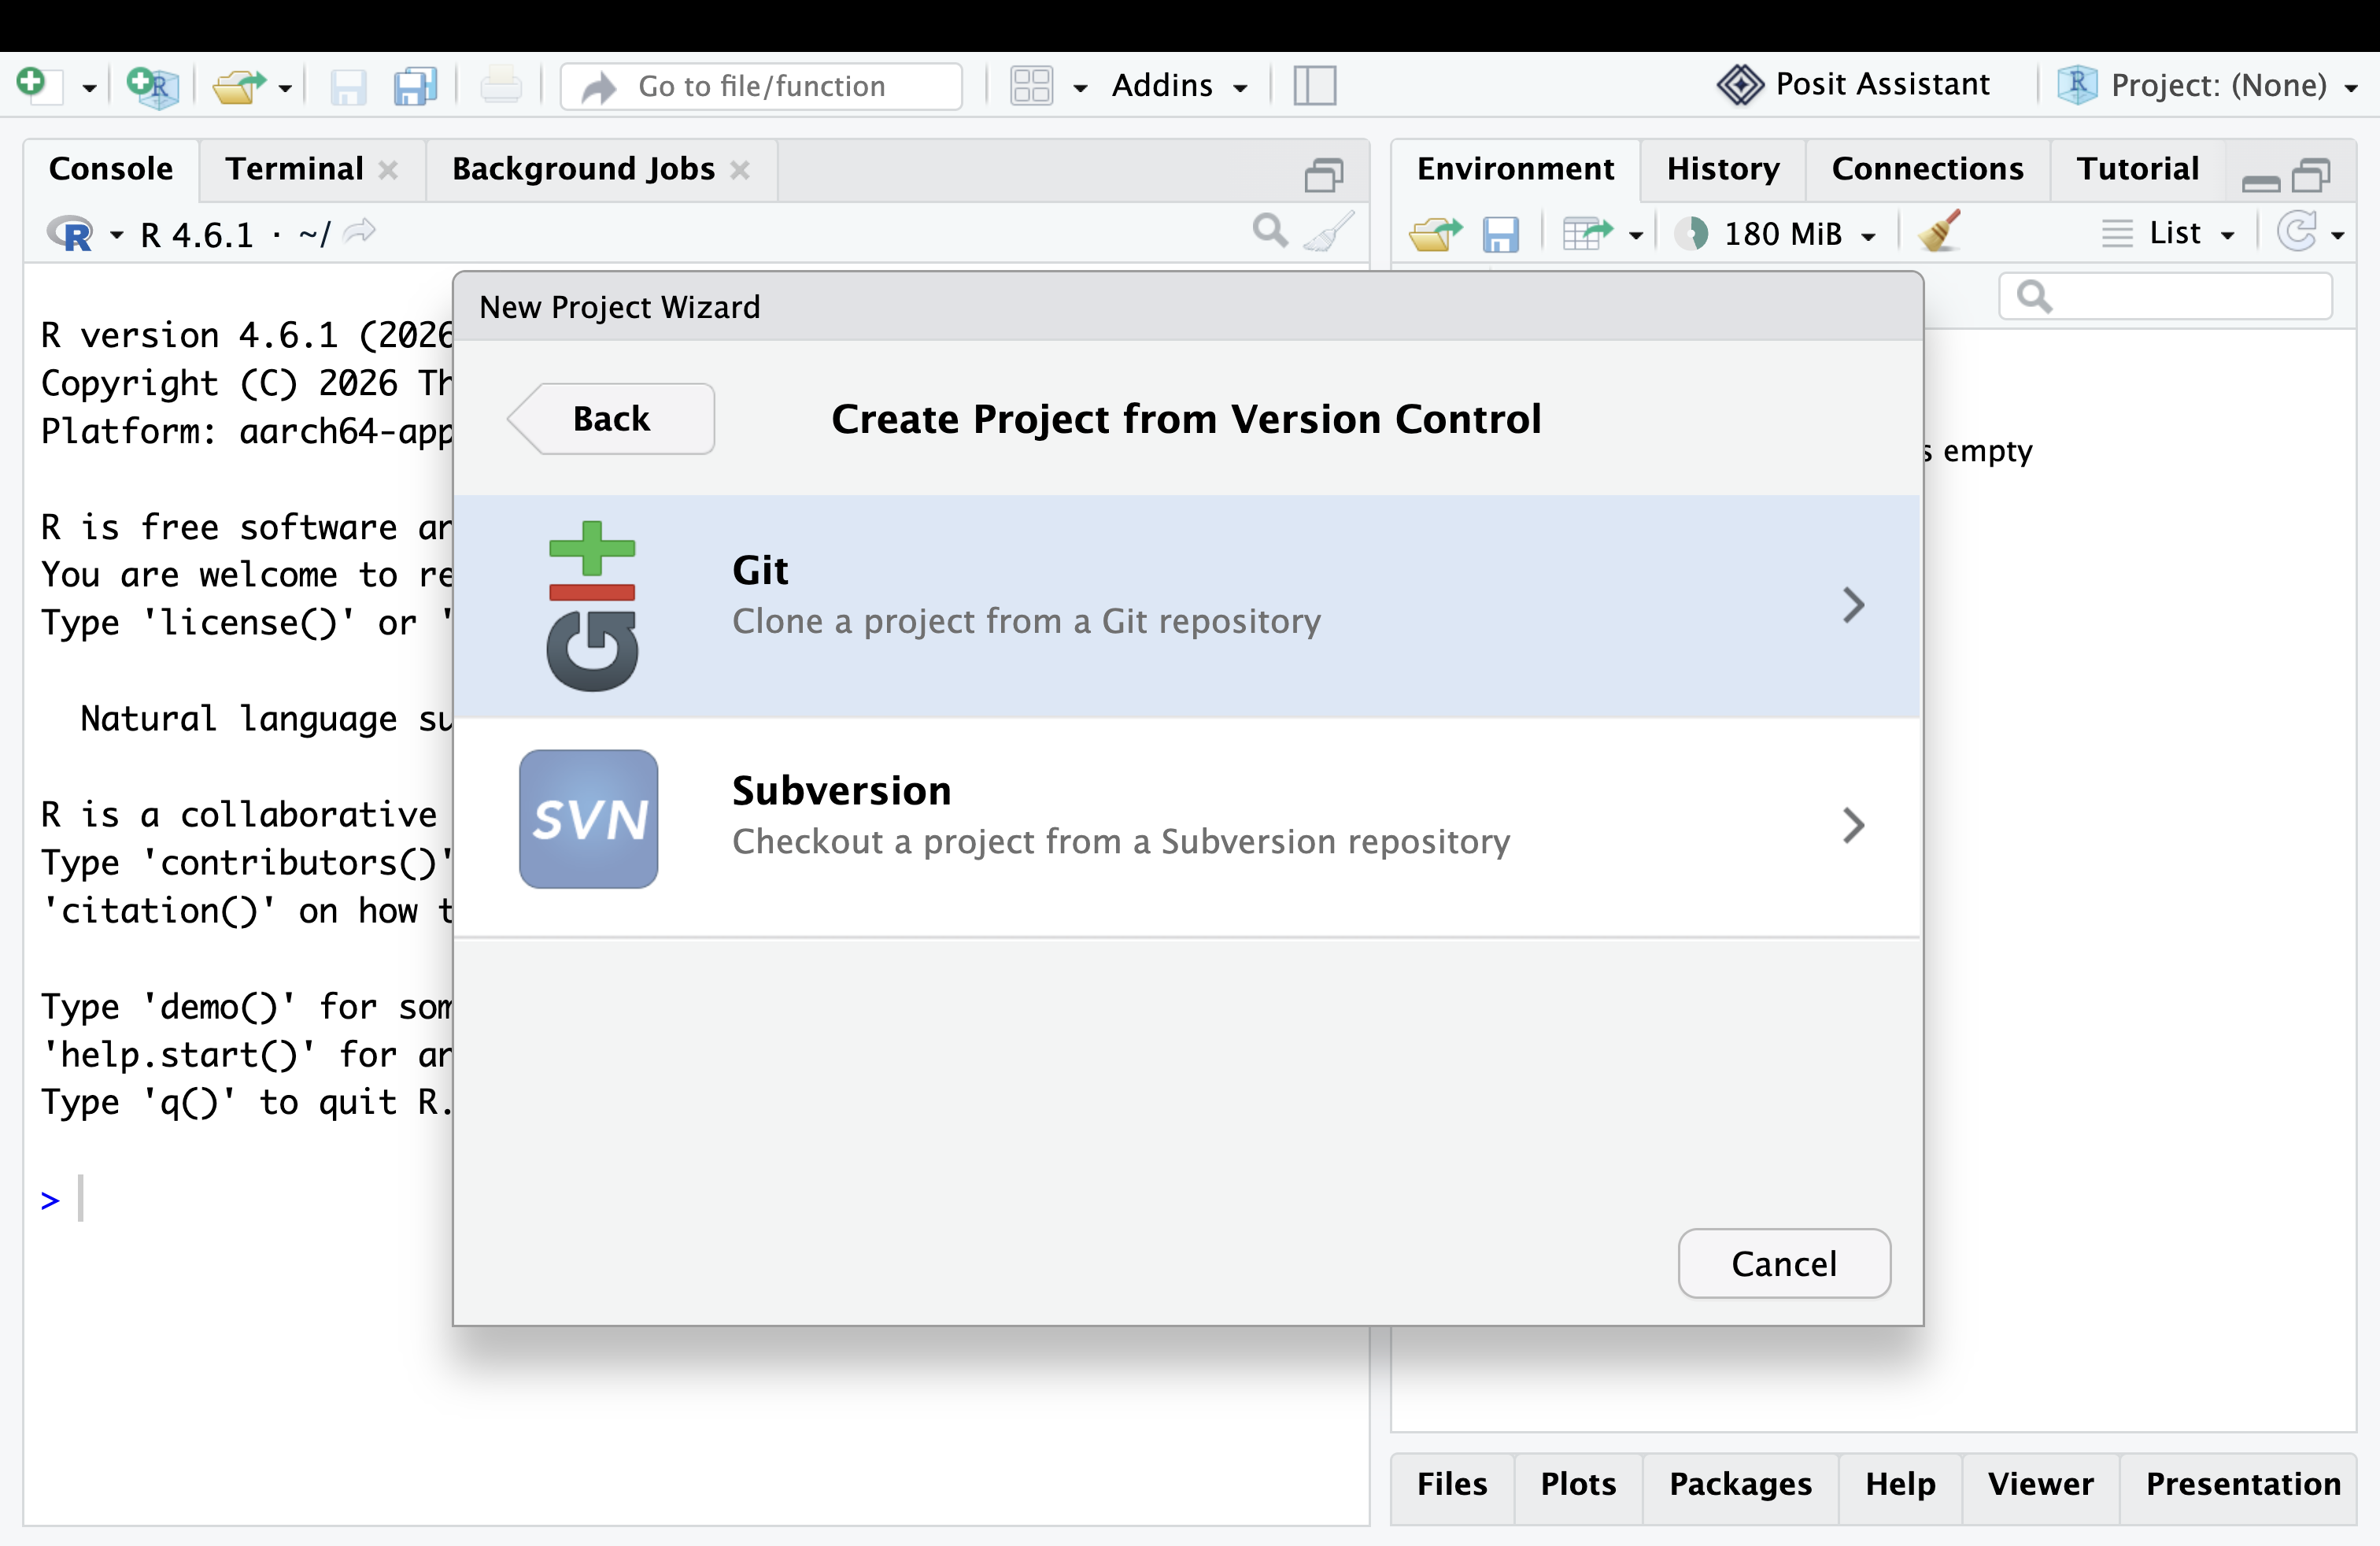
- Click on File > New Project in the top menu bar
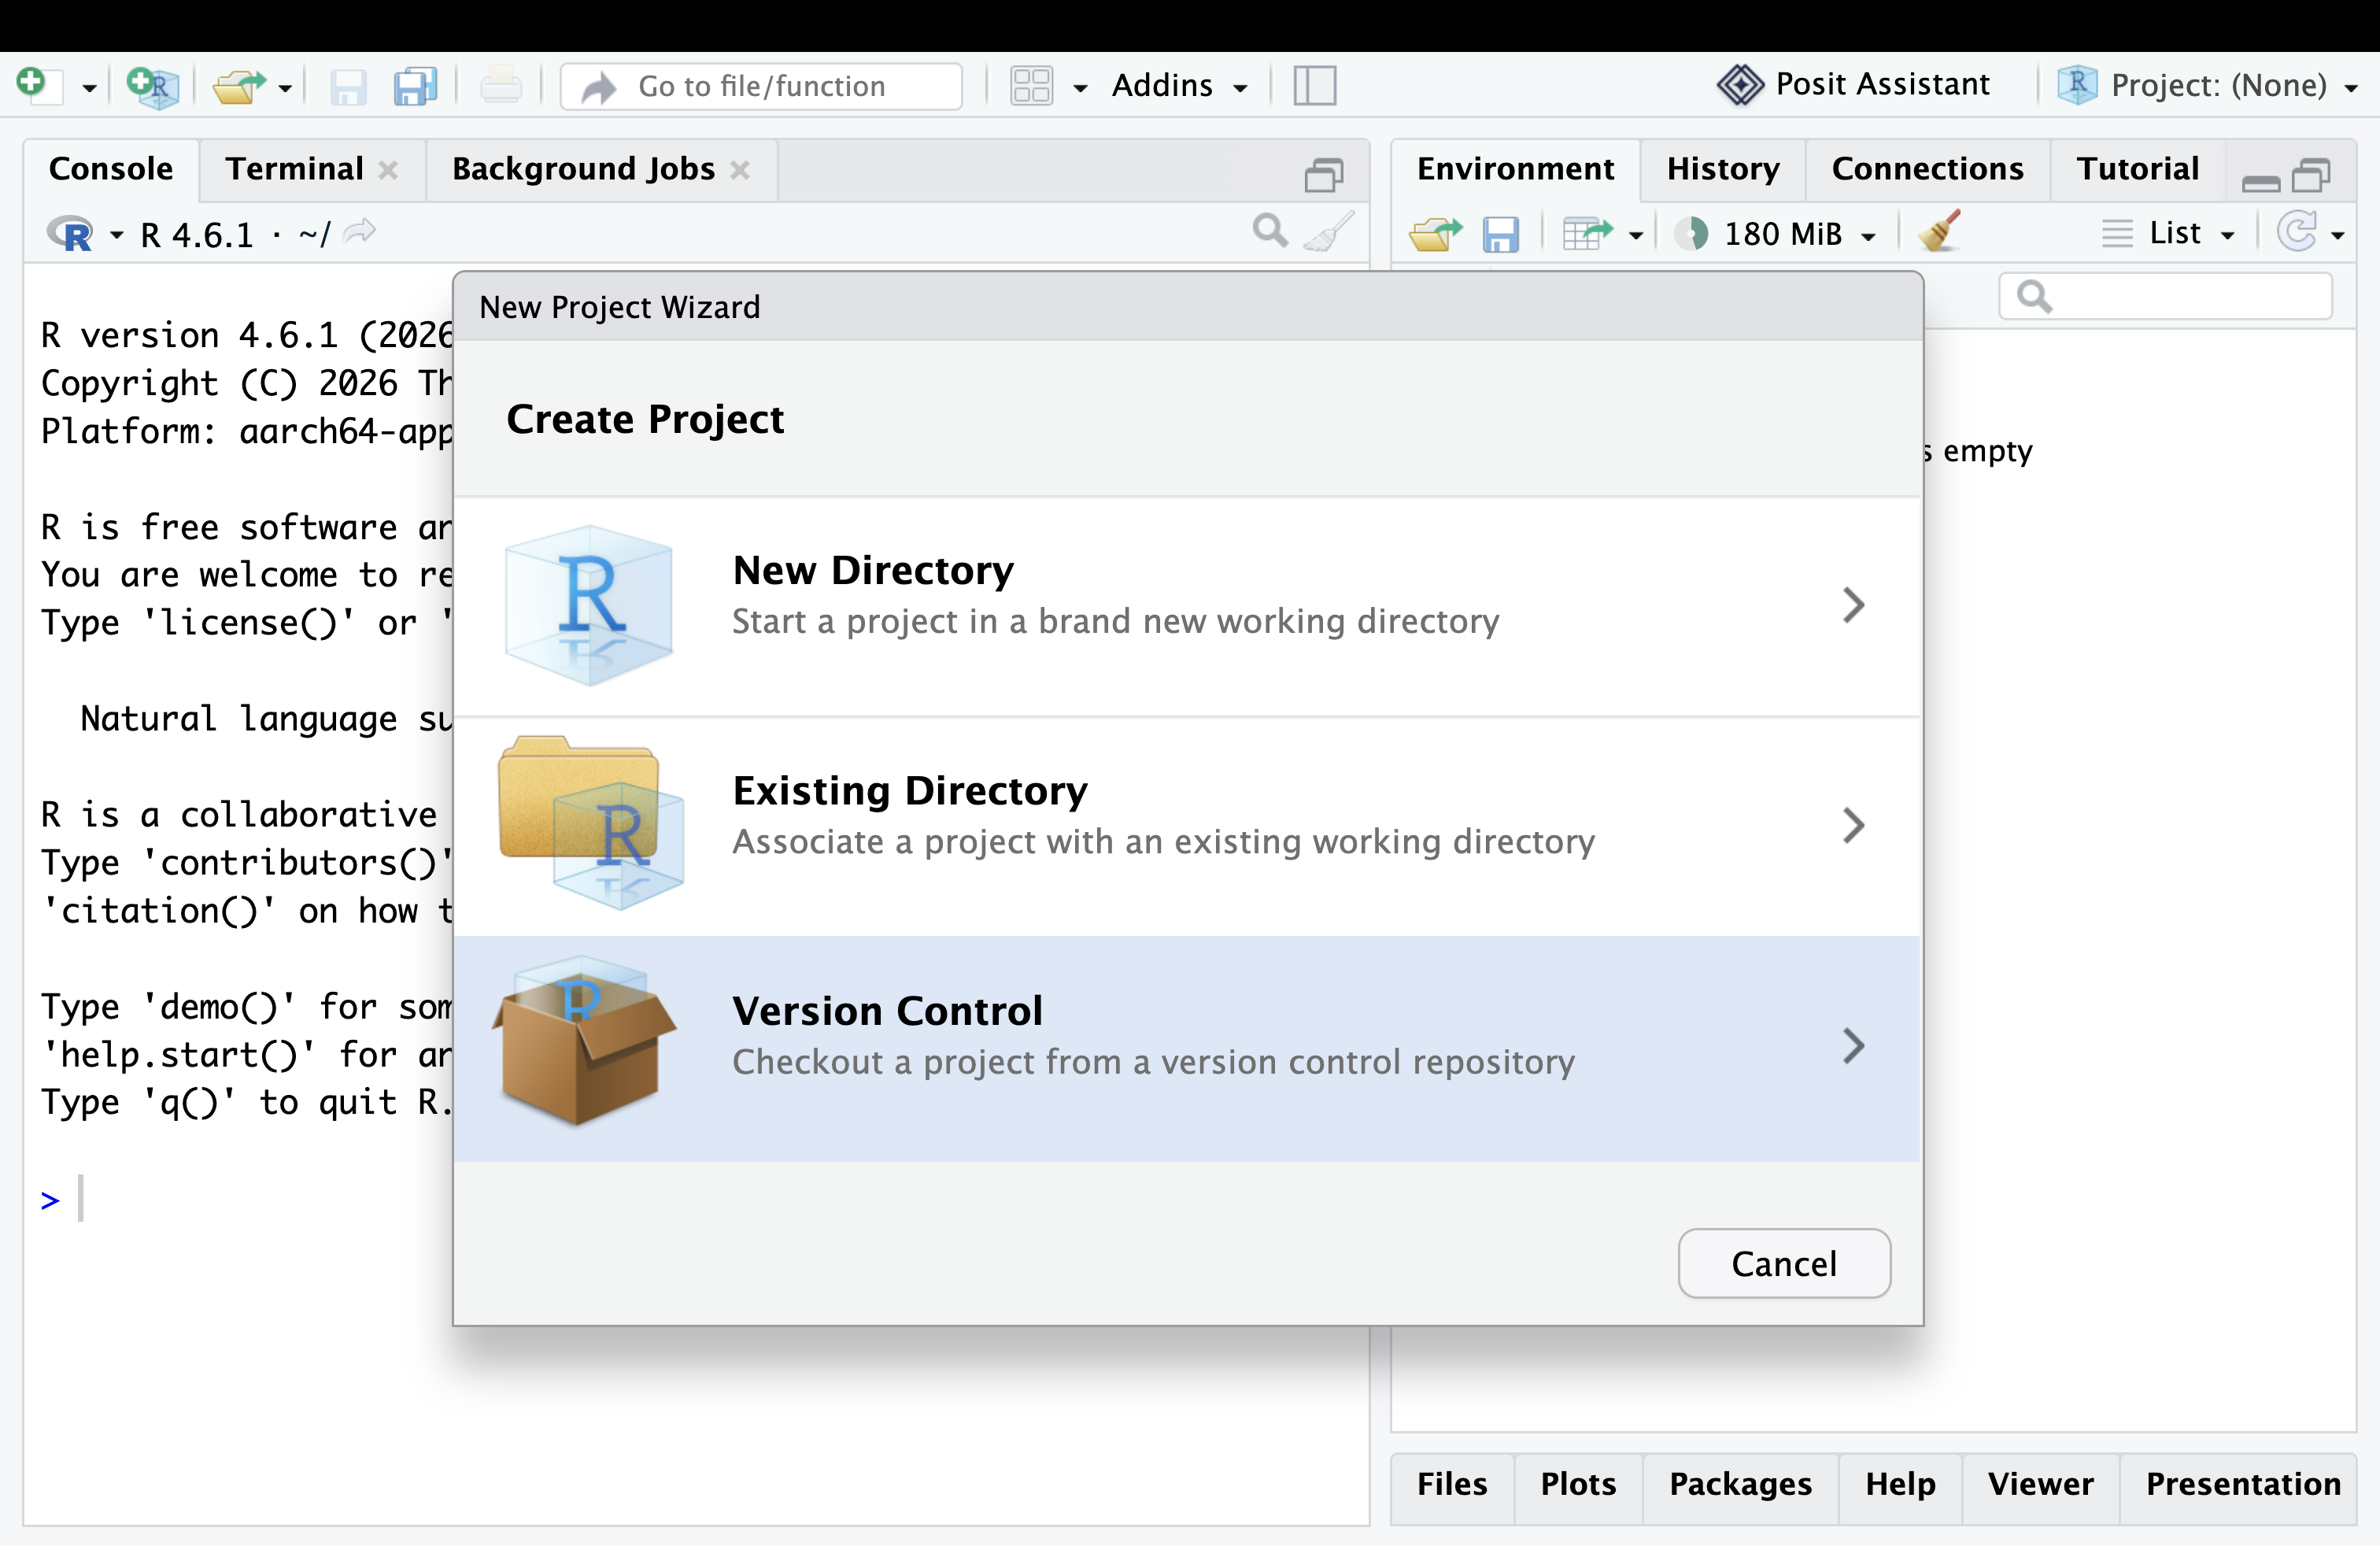
- Click on Version Control.
- Click on Git.
- Click on Browse… button.
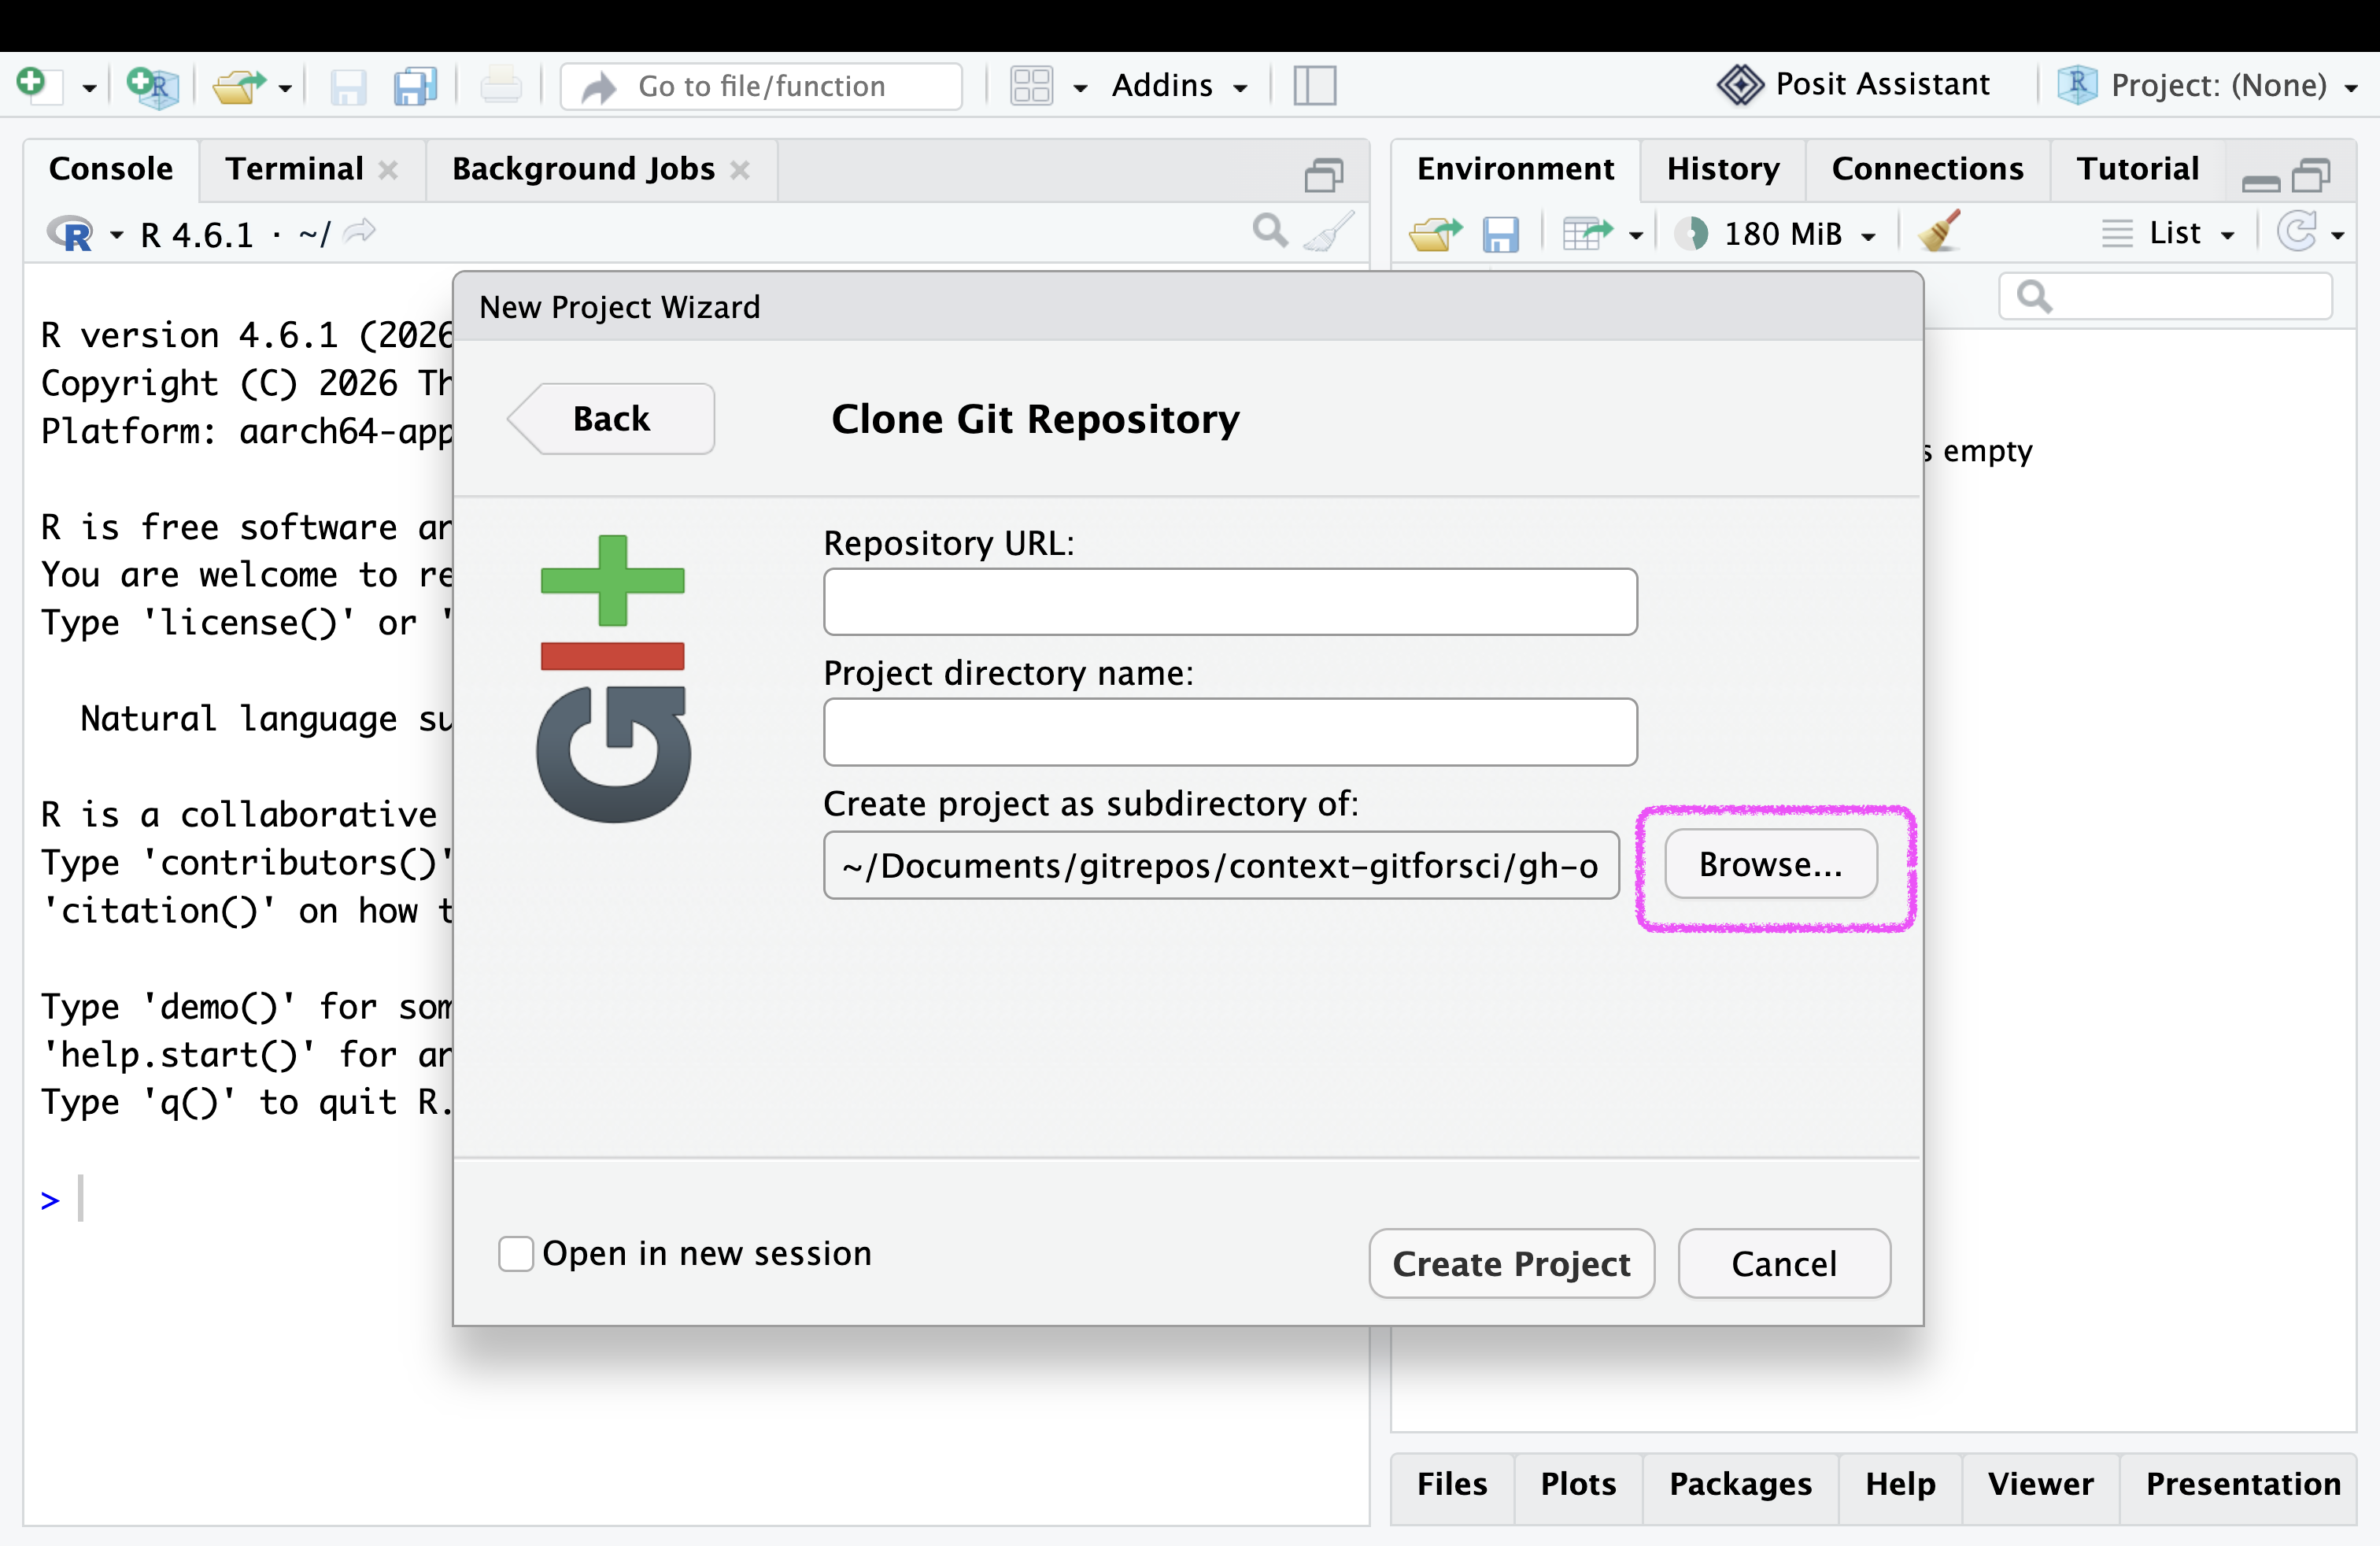
- Create a folder structure for Git repositories (e.g.
~/Documents/gitrepos/gh-org-gitforsci-ghe)
I highly recommend storing folders that are Git repositories separate from other folders. This will help you to keep track of your Git repositories and avoid confusion with other folders.
Create this directory structure locally on your laptop and not in folders that are synced with cloud storage (e.g. Google Drive, Dropbox, OneDrive, etc.).
In your directory structure, you can create a folder called gitrepos. Inside this folder, you can create subfolders for each GitHub organization you are working with (e.g. gh-org-gitforsci-ghe). A subfolder for your personal profile would be gh-rainbow-train. If you also work with GitLab or other Git hosting platforms, use the abbreviation for the platform in the folder name (e.g. gitrepos/gh-rainbow-train, gitrepos/gl-rainbow-train, etc.).
This strategy will help you to keep track of your Git repositories and the respective platforms and organisations they belong to.
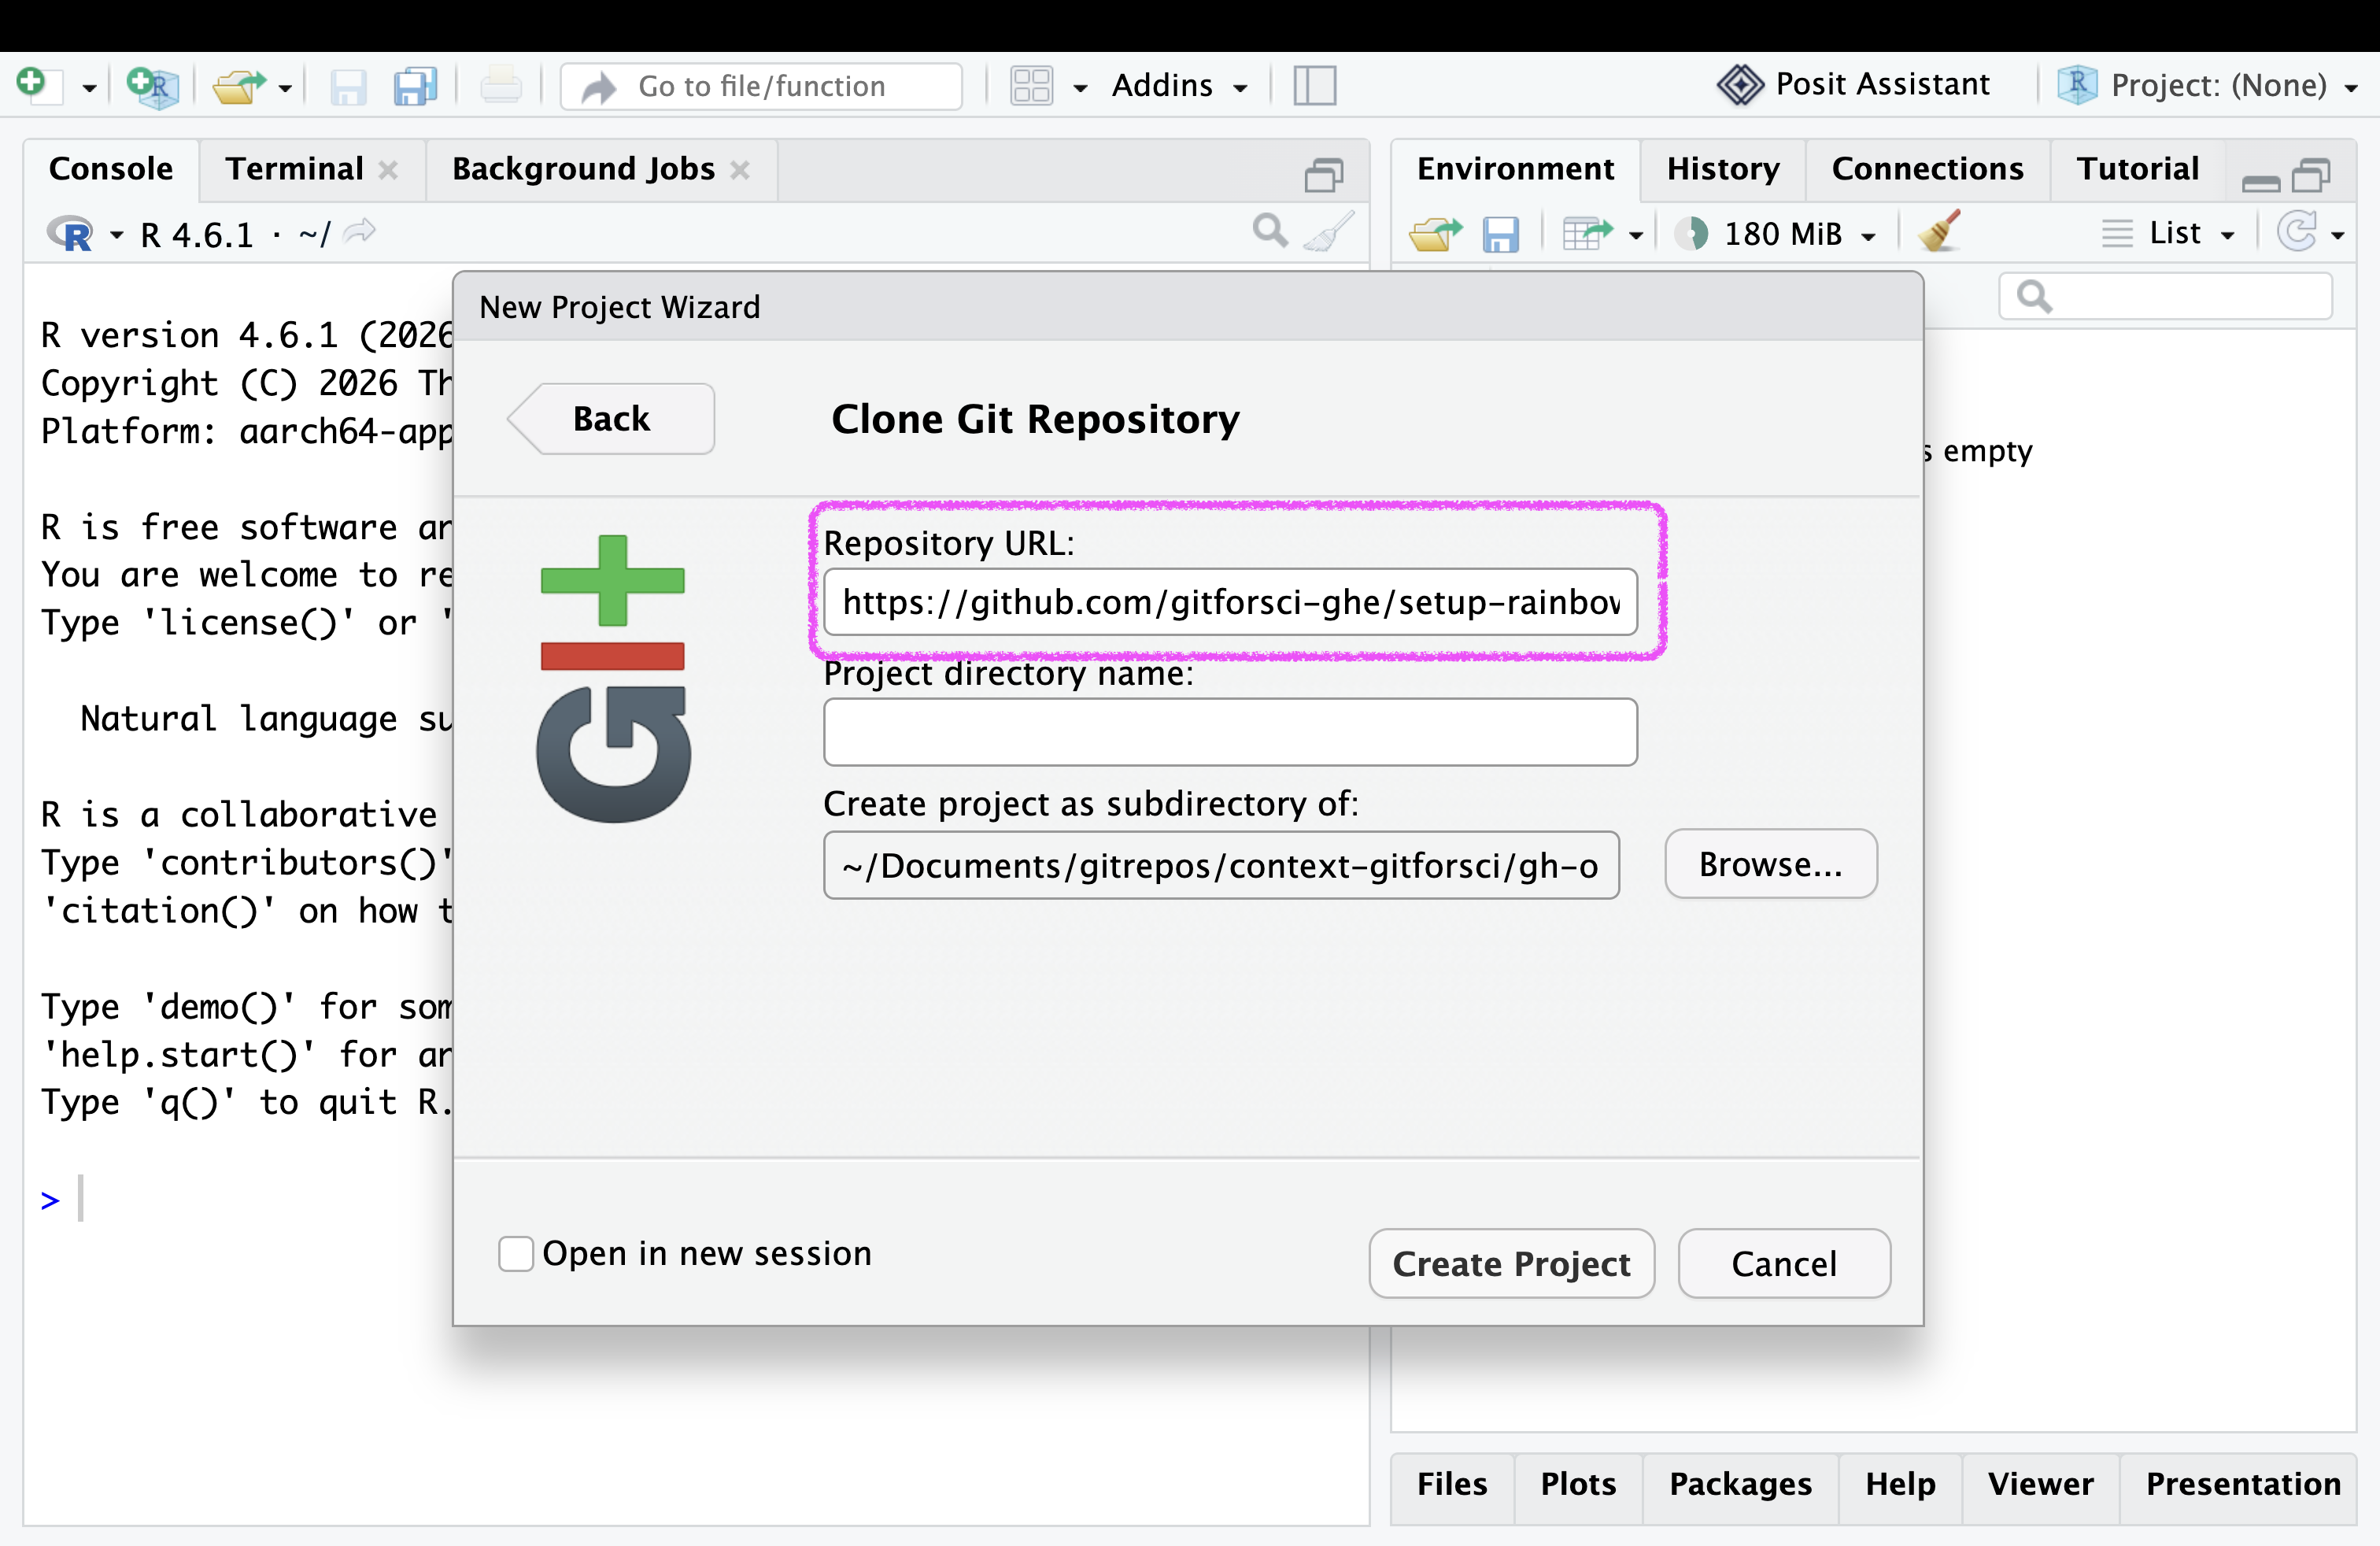
- Paste the HTTPS URL from GitHub into the “Repository URL” field.
After you paste the URL, RStudio usually fills in the “Project directory name” field for you. If it stays empty, leave it empty and do not type anything. Creating the project works with an empty field.
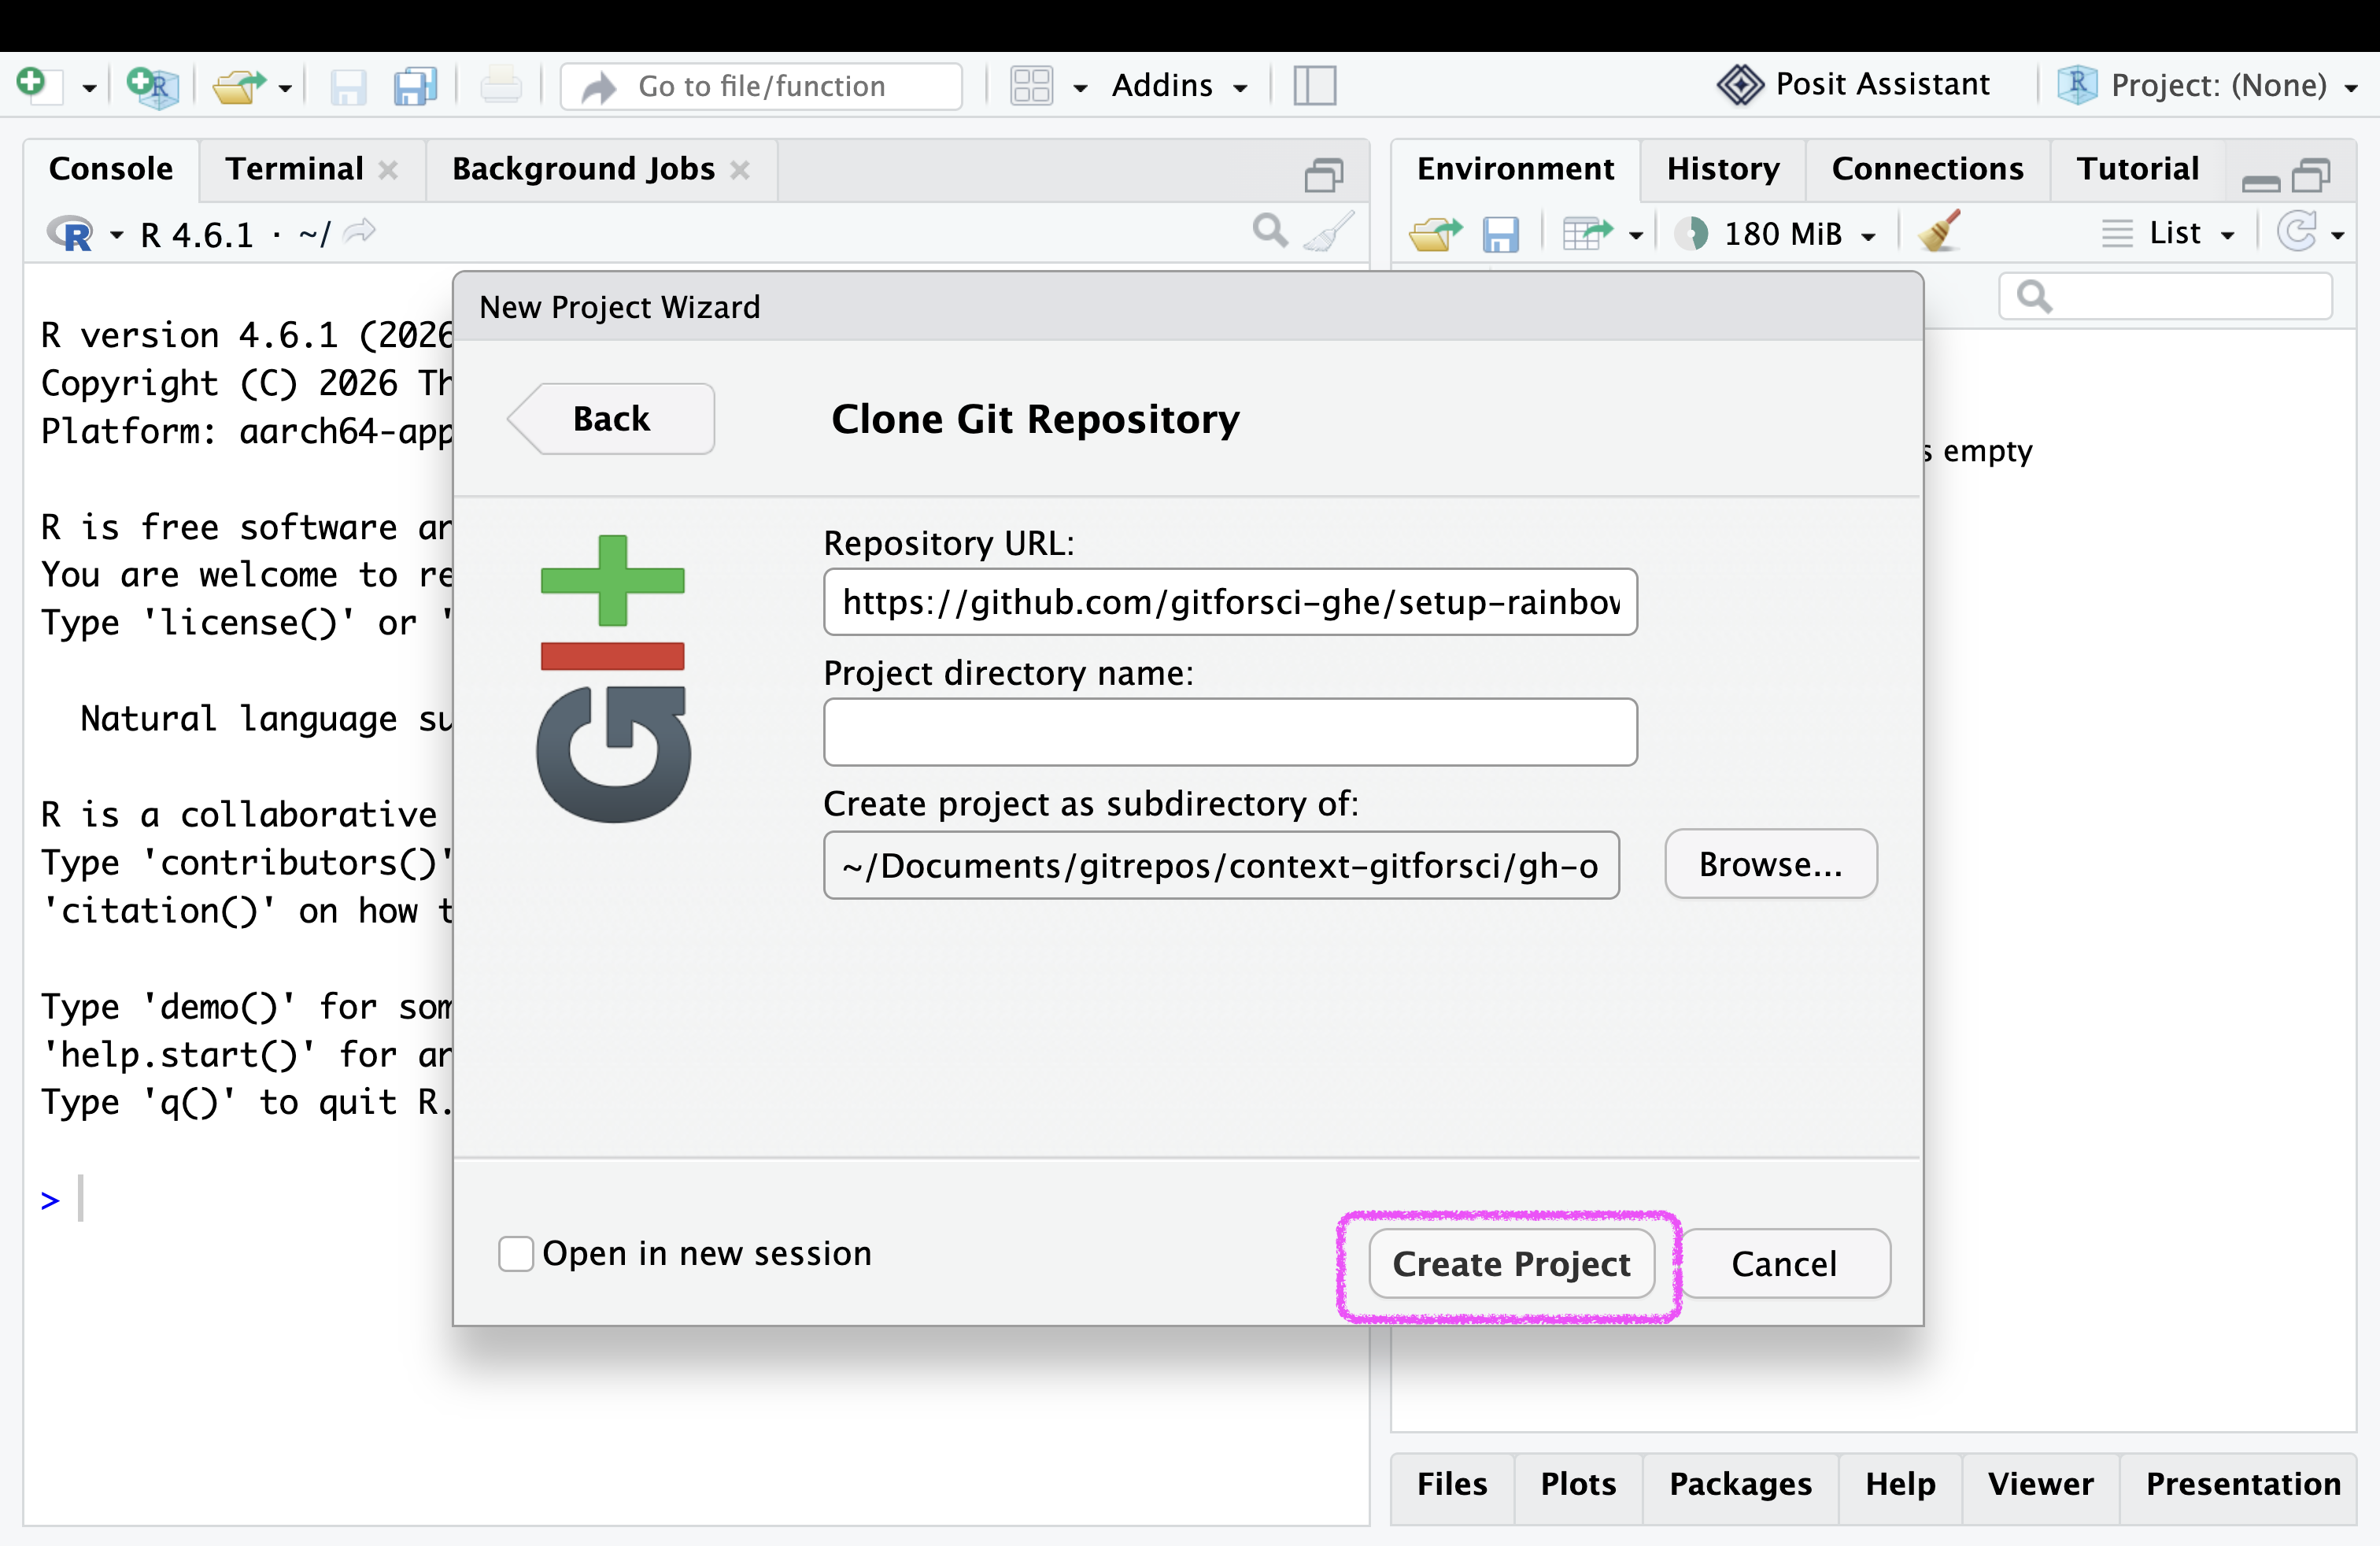
- Click on the “Create Project” button.
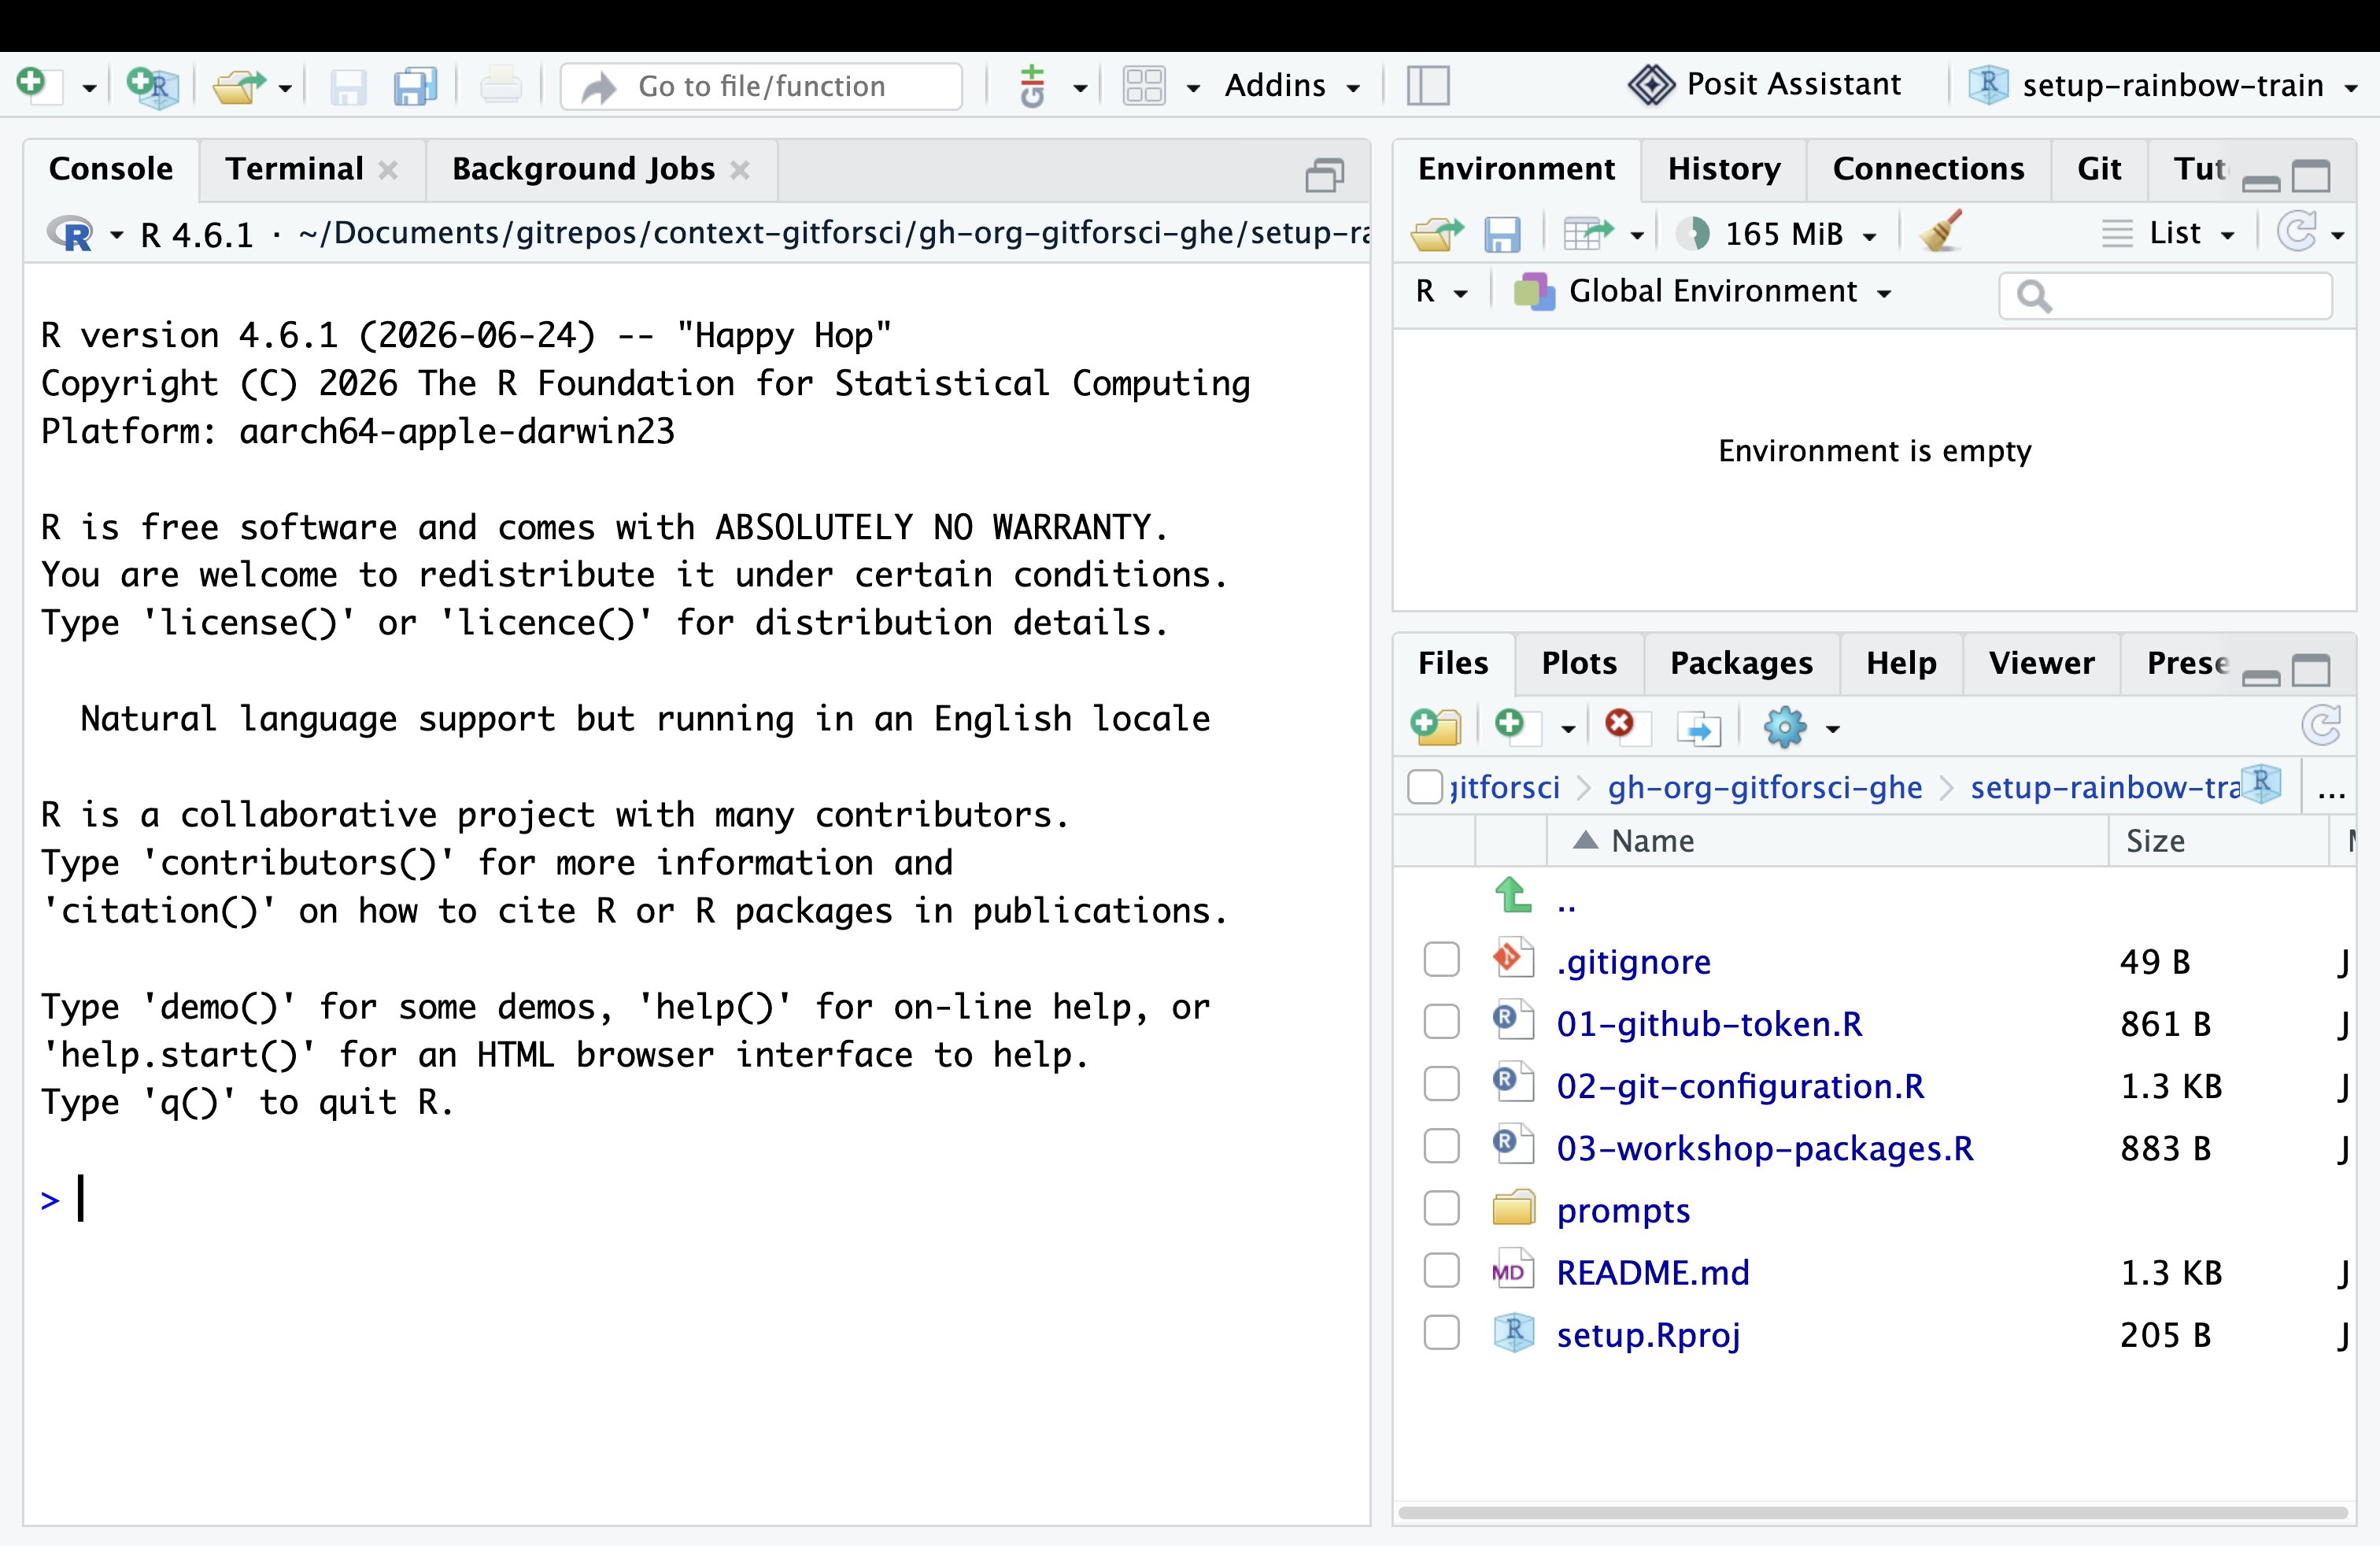
- Find the Files tab in the bottom right pane of RStudio. You will see three numbered R scripts:
01-github-token.R,02-git-configuration.R, and03-workshop-packages.R. You will work through them in the next two steps.
Next step
Your repository is cloned and open in RStudio. Continue with Step 6b: Configure Git and push your first change.